
Reviewed · PHOTOGRAPHY SESSIONS
Tour with Pro Tokyo Photographer and take Edgy Unique Portraits
Tokyo portraits get way better with a pro.
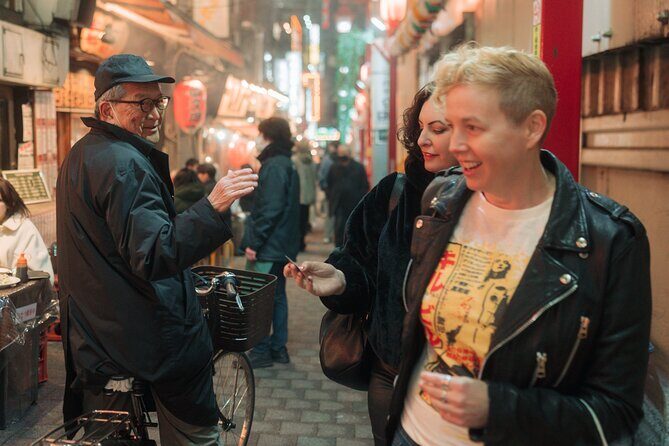
This 1–2 hour photo session is built for people who want something sharper than a rushed selfie run. You’ll walk the streets between Shinjuku and Kabukicho, and the whole shoot is customizable to your preferences—so you’re aiming for edgy, artistic images, not generic tourist shots. Meeting up by Shinjuku Station, you get a photographer who also acts like a guide, helping you find backdrops and chatting along the way so the area makes more sense.
Two things I really like about this experience are the clear photo deliverable and the way it reduces your risk. You receive 10 high-resolution retouched photos per person, and you get to help choose them—so you aren’t stuck with whatever the camera caught. Also, you don’t need modeling experience; the photographer guides poses and keeps the session moving efficiently, which is a huge deal when you’re in a city built for busy foot traffic.
One possible drawback: this works best when you’re comfortable walking a bit and when good weather cooperates. If you want totally laid-back sightseeing with long breaks, this is more of a focused shoot than a slow culture tour—so plan your energy accordingly.
In This Review
- Key highlights worth your attention
- Why Shinjuku to Kabukicho is such a strong portrait setting
- What you get: 10 retouched photos and a mini Tokyo chat
- The shoot flow in plain terms: 1 hour, but plan for 1–2
- Stop-by-stop: what happens where, and what to watch for
- Shinjuku-area Tokyo walk (the big warm-up)
- Omoide Yokocho: Memory Lane alley portraits
- Kabukicho: neon energy near the red-light district
- Customization: how to get photos that match your personality
- Price and value: is $145.35 per person actually fair?
- Logistics that matter on shoot day
- Tips to get your best results in Shinjuku
- Who this tour fits best
- Should you book? My decision guide
- FAQ
- How long does the photo shoot take?
- Where do we meet and where does it end?
- What do I get after the shoot?
- Do I need modeling experience?
- Is this a private tour?
- Is the shoot dependent on weather?
Key highlights worth your attention
- Edgy, customizable portrait style focused on street backdrops between Shinjuku and Kabukicho
- Deniz Demir runs the session and can chat you through Tokyo as you go
- 10 retouched photos per person, professionally re-touched and chosen by you
- No modeling experience needed, with direction so you don’t freeze in front of a camera
- Simple shoot logistics with a set meeting point near Shinjuku Station East Exit
- Great variety in atmosphere, including alley energy at Omoide Yokocho and neon-adjacent scenes near Kabukicho
More frames: other photo sessions in Tokyo
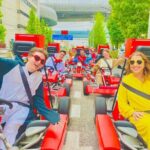
- Tokyo Go-Karting Experience: Shibuya Crossing with Photos★ 4.8 · 190 reviews
- Tokyo Cyberpunk Street Photo Tour★ 5.0 · 165 reviews
- Tokyo by Night Photography Tour (Private Option Available)★ 5.0 · 151 reviews
Why Shinjuku to Kabukicho is such a strong portrait setting
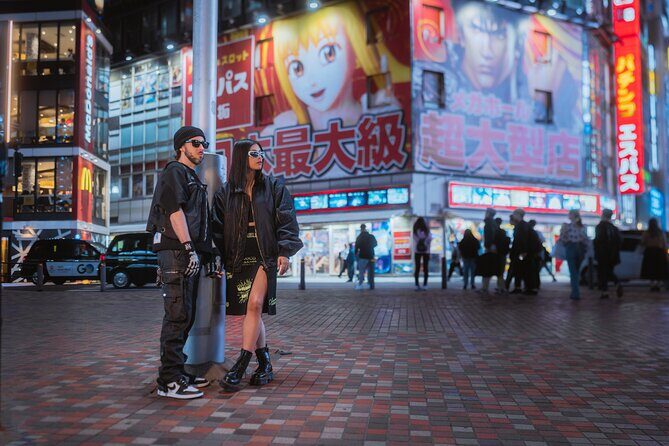
If you want portraits with Tokyo attitude, you can’t do much better than the Shinjuku-to-Kabukicho stretch. Shinjuku carries layers—busy streets, side alleys, neon textures, and constant human motion. Kabukicho adds a different kind of intensity: dense lights, dramatic streetscapes, and that feel of a city that never really powers down.
What makes this tour practical for your camera results is that it’s designed around backdrops you can actually build a story from. Instead of spending time traveling far for iconic landmarks, you’re moving through an area that naturally offers contrast: narrow alley walls that create depth, brighter signage zones that add mood, and street-level compositions that feel real.
And because the photographer can customize the shoot for your tastes, you’re not stuck with one look. You can steer toward something darker and more graphic, something stylish and fashion-forward, or something more playful depending on what you want your photos to communicate.
What you get: 10 retouched photos and a mini Tokyo chat
The big value anchor here is simple: 10 high-resolution retouched photos per person. That’s not vague. You’re getting a defined set, and they’re professionally re-touched. Even better, the photos are chosen by you—so you can aim for the images you’ll actually want to share.
This matters for two reasons. First, retouching is where photos stop looking like quick travel snapshots and start looking like real portrait work. Second, having you choose the final picks reduces the chance you end up with a memory card full of “almost” images you won’t use.
Another underrated part is the time spent chatting with your photographer-guide. Tokyo can be overwhelming on foot. A local who understands where the light falls and how streets feel at different moments can help you see the city while you’re also getting the shots. In the feedback for this experience, people repeatedly highlighted that the session wasn’t just camera-clicking—it included real guidance on places and on how to work the setting.
The shoot flow in plain terms: 1 hour, but plan for 1–2
The timing is listed as about 1 hour (approx.), but the experience description frames it as “over the course of 1–2 hours.” So here’s the practical way to plan: block out a little breathing room, especially if you want a specific look or you’re traveling solo with no one to “fill time” while you switch spots.
The session is private. That means it’s only your group, not a big shared cattle-car format. You also start at a specific point: Shinjuku Station East Exit Police Box, 3-chōme-38-1, Shinjuku. Ending around Kabukicho keeps the shoot geographically coherent—less backtracking, more time spent on compositions.
Because you’re walking between spots, it helps to wear shoes that can handle uneven pavement and lots of stop-and-go. Also, think about your clothing beforehand. Portrait sessions go faster when you already know what you want to wear and whether you’ll want a second outfit look.
Stop-by-stop: what happens where, and what to watch for
Shinjuku-area Tokyo walk (the big warm-up)
The itinerary begins with a Tokyo walking segment, about 30 minutes, with admission listed as free. This part is where the photographer sets the tone: choosing your best initial directions, testing what kind of street texture works with your style, and getting you comfortable in front of the lens.
In practical terms, this “warm-up” matters because your best photos usually come after you relax. If you start stiff, it takes time to loosen up. If you start moving naturally, you get more variety out of the same time window.
Drawback to consider: since this is early in the session, you’ll want to communicate your preferences quickly. If you wait until the last 10 minutes to say what you really want, you may lose chances to chase the right lighting or angles.
Omoide Yokocho: Memory Lane alley portraits
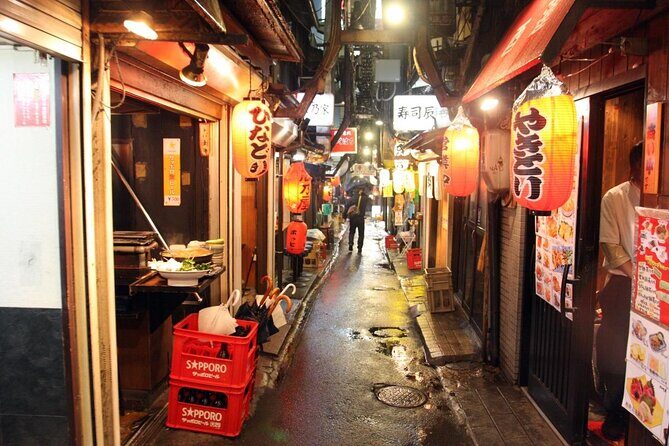
Next is Omoide Yokocho, also known as Memory Lane, for about 15 minutes. This is one of those cramped, lively alley settings that gives photos instant atmosphere. The walls, tight spacing, and “you’re standing inside the city” feeling can make portraits look more cinematic than open-street locations.
Because admission is listed as free, you’re not paying extra to access the vibe—this stop is about using the environment for composition. The tradeoff is that alley spaces can feel crowded depending on the time of day, so you’ll want to follow the photographer’s pace and direction closely. The goal is to time shots and position you so you don’t fight the surroundings.
Kabukicho: neon energy near the red-light district
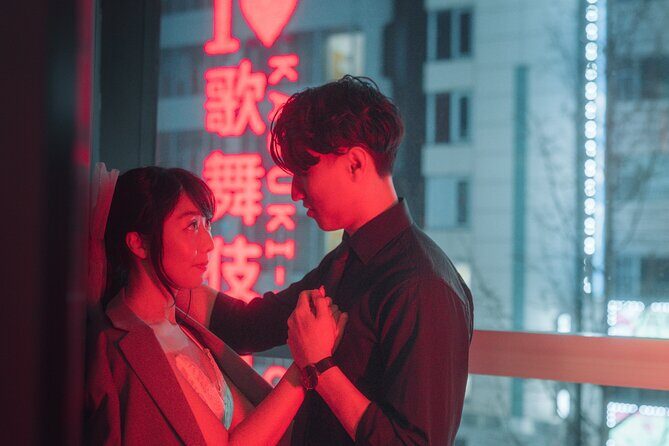
The final stop in the listed itinerary is Kabukicho, about 15 minutes, also with free admission. Kabukicho is dense with lights and signage, and that’s exactly why it’s good for edgy portraits. You can get dramatic contrast: bright highlights around you, darker areas behind you, and street-level lines that lead the eye.
One useful point from the experience description: it frames Kabukicho as very tourist friendly and a must see, and also calls it the densest, neon-heavy red-light district in the region, while still being described as safest for visitors. That wording is meant to reassure you that you’re not stepping into an unknown danger zone while you shoot.
A possible consideration here is timing. Neon scenes can look amazing at night, but even in daytime the area has a strong graphic look. If you care about a specific lighting mood—day gritty vs night neon—tell your photographer up front so you’re aiming for the vibe you want.
Customization: how to get photos that match your personality
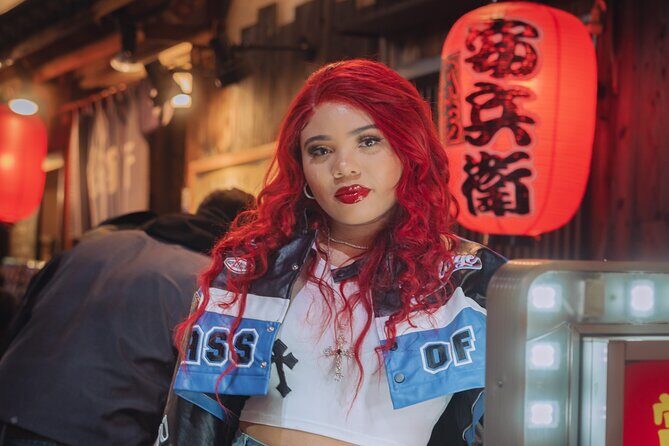
The experience is customizable to suit your preferences, and that’s where this tour stops being a generic “take photos in Tokyo” package. You’re not just showing up and hoping for good luck. You’re steering the session toward what you want your images to feel like.
Here’s what I’d do if you want to maximize results:
- Decide the vibe you’re chasing: edgy and artistic, dramatic and moody, or stylish and street-fashion.
- Mention any photo references you like (even just describing the mood works).
- Let the photographer guide posing, but tell them what you’re comfortable with.
People in the feedback for this session also emphasized that the photographer was willing to try their ideas—not just stick to a script. That’s a big deal for anyone who doesn’t want cookie-cutter photos.
Also, note that the tour description stresses modeling experience isn’t required. Translation: you’ll get direction. You won’t be left to “figure it out” while you hold a pose that looks fine in your mirror and terrible on camera.
Price and value: is $145.35 per person actually fair?
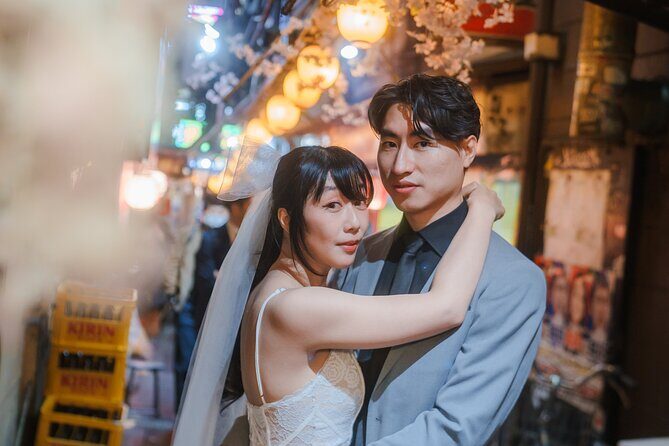
At $145.35 per person, you’re paying for three things: a pro photographer’s time, the ability to produce good images in a short window, and 10 professionally retouched photos. It’s not just a walk-and-snap deal.
To judge value, compare this against two common alternatives:
- Hiring a photographer for a full professional session with a larger number of edited images usually costs more, especially in cities like Tokyo.
- Doing it yourself can work, but it’s harder to guarantee composition, lighting timing, and portrait direction—especially at places like Omoide Yokocho and Kabukicho where the “right angle” is everything.
This tour also includes group discounts, and it’s private, so if you’re traveling as a couple or a small group, the per-person cost can still feel reasonable relative to the photos you’ll get back. The practical win is that you’re paying for results you can directly use.
One warning flag: if you’re the type who doesn’t care about sharing photos or you rarely use edited images, you might be paying for something you won’t take advantage of. But if you want strong portraits you’ll actually post, this is built for you.
Logistics that matter on shoot day
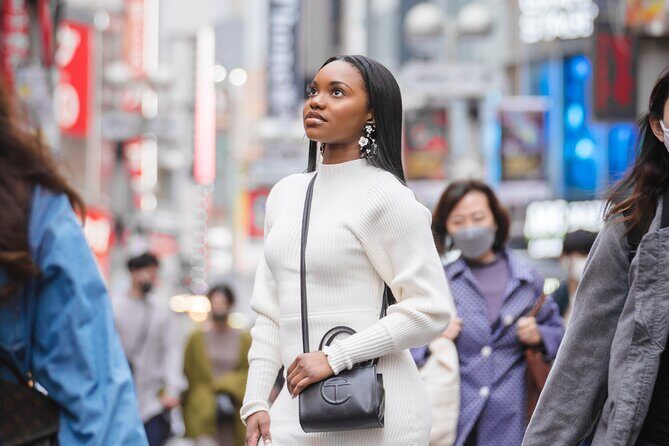
Start point is clearly defined: Shinjuku Station East Exit Police Box. That matters because Tokyo is a maze of exits. Show up a few minutes early so you aren’t sprinting while your photographer waits.
Hours are listed as 10:00 AM–10:00 PM. That flexibility helps if you want to pair the shoot with your day plans or plan for night-neon mood. (In feedback for this experience, people explicitly called out that nighttime photos look amazing, so it’s worth considering if you’re after neon atmosphere.)
You’ll also be walking near public transportation, and service animals are allowed. That’s good to know if you have specific needs. It’s not advertised as wheelchair-specific here, so if that’s relevant, you’d want to confirm details before booking.
Finally, weather matters. The experience notes it requires good weather, and you’ll be offered a different date or a full refund if it’s canceled due to poor weather. That’s important in Tokyo because rain can change street surfaces and lighting, and rain also affects how comfortably you can take portraits in tight areas.
Tips to get your best results in Shinjuku
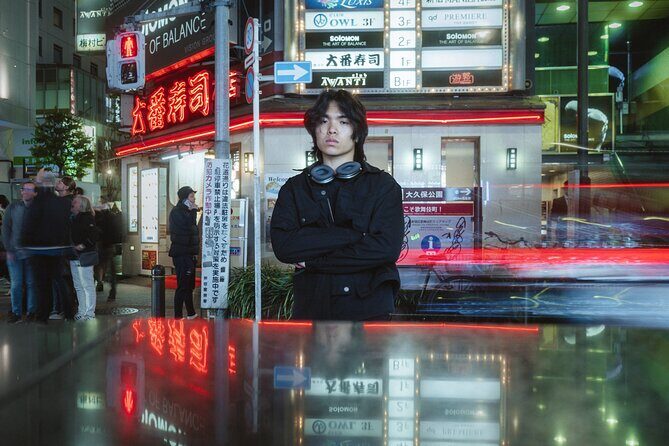
You don’t need to overthink the camera side. This is handled. What you need to manage is your energy, your outfit, and your communication.
1) Dress for movement
You’ll stop, pose, and walk between spots. Wear shoes you trust, and choose clothes that won’t restrict your stance.
2) Bring the details you want remembered
If you have a theme—Japan street style, cyber-edgy, modern minimal—say it. The session is customizable, and the photographer is there to translate your idea into shots that fit the environment.
3) Use your phone backup smartly
You’ll be using the photographer’s process, but having your own phone for quick reference is still useful. You can also take a couple of quick test frames to check what your outfit looks like in the lighting.
4) Consider time-of-day mood
Neon look is often strongest after dark. If your schedule can handle it, ask for the vibe you want. The street atmosphere of Kabukicho is part of the photo promise.
5) Don’t apologize for not being photogenic
The whole experience is built around direction. If you feel awkward, that’s normal. The goal is to help you look comfortable and natural on camera.
Who this tour fits best
This is a great match if you’re:
- Traveling solo and want a professional set of portraits with zero self-taken awkwardness
- A couple wanting “real Tokyo” photos instead of generic landmark shots
- A small group that wants private attention and a fast, high-output photo session
- Someone who wants edgy, artistic city portraits using Shinjuku and Kabukicho streets as the background
It’s less ideal if you only want quiet, slow sightseeing with lots of rest stops, or if you’re hoping for a deep history lesson. This is centered on the photo session first, and the city context comes through conversation and choosing locations.
Should you book? My decision guide
Book it if you want a practical way to leave Tokyo with photos that look like you worked with a professional, not like you begged a friend to take “just one more” shot. The combination of 10 retouched photos, private direction, and a photographer who knows the right street textures makes this a strong value for people who care about sharing and keeping memories.
Consider skipping or adjusting expectations if:
- Weather could be a problem for your dates and you can’t be flexible
- You don’t really use edited photos after your trip
- You’re looking for a long, slow, sightseeing-heavy day instead of a focused portrait session
FAQ
How long does the photo shoot take?
The tour is listed as about 1 hour (approx.), and the experience description also says it runs over about 1–2 hours.
Where do we meet and where does it end?
You meet at Shinjuku Station East Exit Police Box, 3-chōme-38-1 Shinjuku. The shoot ends around Kabukicho, Shinjuku City.
What do I get after the shoot?
You receive 10 high-resolution professionally re-touched photos per person, and the photos are chosen by you.
Do I need modeling experience?
No. The photographer directs the session and helps you feel comfortable, even if you have no modeling experience.
Is this a private tour?
Yes. It’s private, meaning only your group participates.
Is the shoot dependent on weather?
Yes. The experience requires good weather, and if it’s canceled due to poor weather, you’ll be offered a different date or a full refund.
Better Photos of Your Trip
More Tours in Tokyo
More Tour Reviews in Tokyo
Fresh reviews from around Tokyo

Photography Sessions, compared.
 ★ 4.8Tokyo Go-Karting Experience: Shibuya Crossing with PhotosFrom $90190 reviews
 ★ 5.0Tokyo Cyberpunk Street Photo TourFrom $184165 reviews
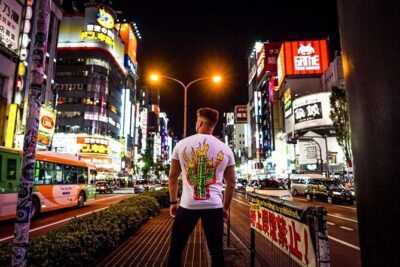 ★ 5.0Tokyo by Night Photography Tour (Private Option Available)From $105151 reviews
 ★ 5.0Tokyo Shinjuku Night Photo Tour with Pro GotaFrom $85142 reviews
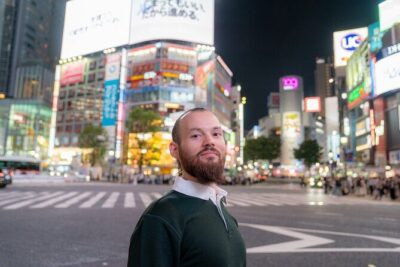 ★ 5.0Tokyo Portrait Tour with a Professional PhotographerFrom $9258 reviews
Tokyo Asakusa: Miu Kimono Rental and Optional PhotoshootFrom $3254 reviews
★ 5.0Tokyo Portrait Tour with a Professional PhotographerFrom $9258 reviews
Tokyo Asakusa: Miu Kimono Rental and Optional PhotoshootFrom $3254 reviews
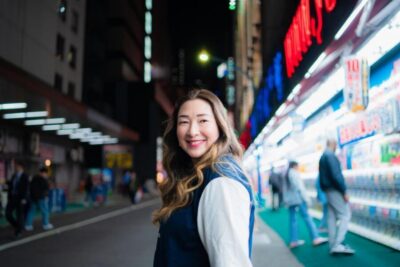 ★ 5.0Photo Shoot with a Private Vacation PhotographerFrom $28353 reviews
 ★ 5.0Tokyo Authentic Kimono Rental in Asakusa with Photography OptionFrom $4546 reviews
Browse the lists this tour appears in