
Reviewed · SHINJUKU BAR HOPPING
Tokyo Shinjuku Night Photo Tour with Pro Gota
Neon Shinjuku turns into a photo mission. With Pro Gota guiding you through classic-but-awkward-to-find corners, you get a plan for where to stand, when to shoot, and how to look your best under night lighting. I especially like the included welcome drink at a bar, plus the payoff of at least 20 professionally edited photos after the tour.
One thing to think about first: you’ll walk about 3 km over the 1.5 hours, so it’s not ideal if standing or walking for a while is hard for you.
In This Review
- Key Points Worth Your Attention
- Why Shinjuku at Night Is a Great “Photo-First” Plan
- Pro Gota’s Style: Direction, Comfort, and Edited Results
- Meeting at Shinjuku Sanchome: Start Simple, Start Focused
- Hanazono Shrine: Quiet Frames in the Middle of Shinjuku
- Golden Gai: Narrow Alleys and Moody, Portrait-Ready Signs
- Kabukichō and the Godzilla Head: Big Neon Energy, Controlled Composition
- Jōuenji Temple Lanterns: Warm Light That Flatters Real Faces
- Shintoshin Pedestrian Bridge: Finish with Shinjuku Skyline Night Views
- How the 90 Minutes Actually Feel: Pace, Walking, and Group Flow
- Price and Value: What $85.89 Buys You (and What It Doesn’t)
- Logistics That Matter: Meeting Point, Ending Area, and How to Find Your Way
- Before You Go: Small Choices That Improve Your Photos
- Should You Book Pro Gota’s Shinjuku Night Photo Tour?
- FAQ
- How long is the Shinjuku night photo tour?
- What is the price per person?
- What photo locations are included?
- Is a welcome drink included?
- How many photos will I receive after the tour?
- Is this tour private?
- How much walking is involved?
- What is the cancellation policy?
Key Points Worth Your Attention
- Welcome drink included early on, so you start the night relaxed, not rushed
- Pro Gota’s photo guidance means you’re not stuck with guesswork and bad angles
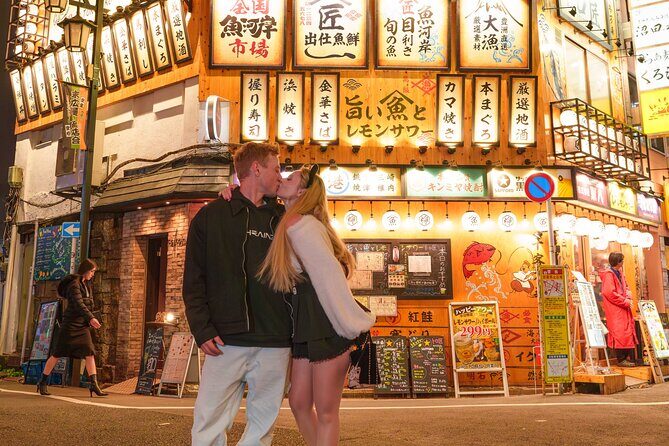
- Iconic Shinjuku variety from Hanazono Shrine to Golden Gai to Kabukicho neon streets
- Night texture in every stop with shrine quiet, alley atmosphere, temple lanterns, and skyline views
- 20+ professionally edited photos delivered after so you actually get keepable results
- Private tour for your group means you’re not competing for attention or photo spots
Different nights, same neon: more Shinjuku crawls
- Tokyo: Shinjuku Food Tour (13 Dishes at 4 Local Eateries)★ 5.0 · 6,603 reviews
- Tokyo Bar Hopping Tour in Shinjuku (All-You-Can-Drink + Dinner)★ 5.0 · 3,587 reviews
- Tokyo: Shinjuku Food Tour (15 Dishes and 4 Eateries)★ 4.9 · 2,033 reviews
Why Shinjuku at Night Is a Great “Photo-First” Plan
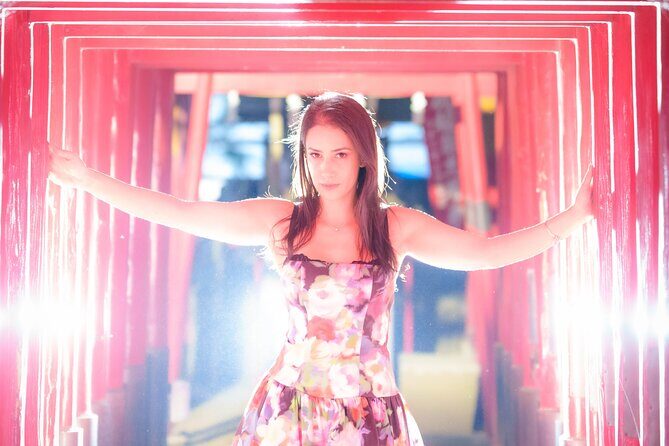
Shinjuku at night has lighting that can flatter almost anyone. You’re surrounded by neon signage, warm bar glow, temple lamps, and dark alleys that make portraits look cinematic without turning into a full-on photoshoot marathon.
The real value here is that you’re not wandering around trying to find the perfect scene. You’re given a sequence of places where the lighting makes sense, and you get direction on how to frame yourself and move between shots.
If you’re the kind of person who ends up with a phone full of random selfies, this tour flips the script. You still get to be part of the night, but someone else handles the composition and timing while you enjoy being there.
Pro Gota’s Style: Direction, Comfort, and Edited Results
You’re booking a photographer guide, not just a sightseeing walk. Pro Gota’s role is practical: he helps you get the shot and keeps the process friendly and low-stress.
From past experiences shared by guests, he tends to be attentive and careful with pacing. If your Japanese is limited, you may also find communication easier than you’d expect, since Google Translate can help during the tour when needed.
The biggest “future you” benefit is the editing. You’ll receive at least 20 professionally edited photos afterward. That matters because night photos are hard to fix on your own—too dark, too yellow, too blurry, or blown out by neon. Edited images also mean you can pick your best ones without spending hours wrestling with settings back home.
Meeting at Shinjuku Sanchome: Start Simple, Start Focused
The tour starts at Marugo GrandeJapan, Shinjuku (3-chōme), 6-14 1F. If you’re using maps, give yourself a few extra minutes. Shinjuku is huge, and you don’t want to arrive sweaty and frazzled when the first photo session starts.
You also get the welcome drink at a bar as part of the opening flow. I like this idea because it turns the start into a real moment, not a cold scramble. Plus, it gives you something to do while you settle in—especially helpful if you’re traveling solo.
Expect the first segment to feel like a guided warm-up: you’re learning where you’ll photograph, how you’ll move as a group, and what kind of look works under Shinjuku’s night lighting. Then you’ll start hitting the more atmospheric locations.
Hanazono Shrine: Quiet Frames in the Middle of Shinjuku
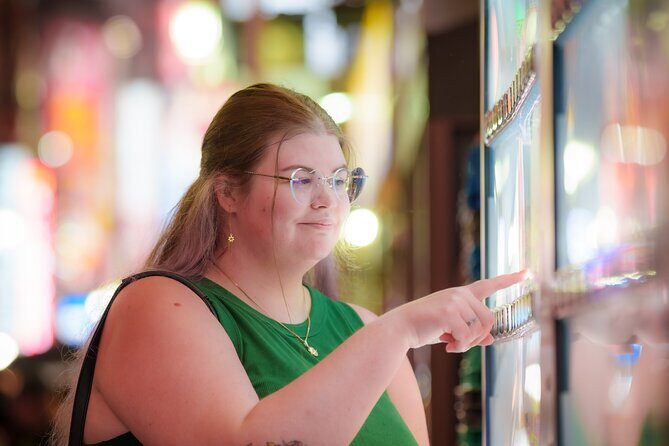
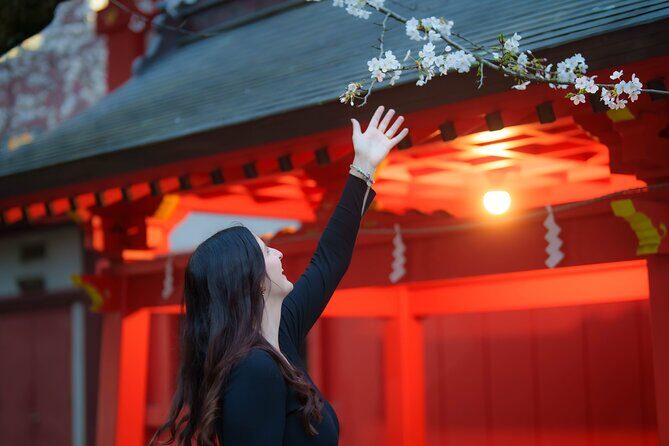
After the Sanchome start, you head to Hanazono Shrine for a photo session. This is the kind of place I love during a nightlife tour because it adds contrast. One minute you’re near neon and restaurant glow; the next you’re in a calmer setting with a traditional feel.
That contrast is not just aesthetic. It helps you get different types of portraits in a short window. At a shrine, the light can be softer, shadows can be more flattering, and your background stops looking like a random wall of signs.
Practical downside: since it’s a shrine setting, you’ll want to stay respectful and follow the guide’s instructions on where to stand and how to move. If you’re hoping for totally freestyle poses, you’ll still be able to be creative, but you’ll be doing it within the flow.
Other ways into a Tokyo evening
Golden Gai: Narrow Alleys and Moody, Portrait-Ready Signs
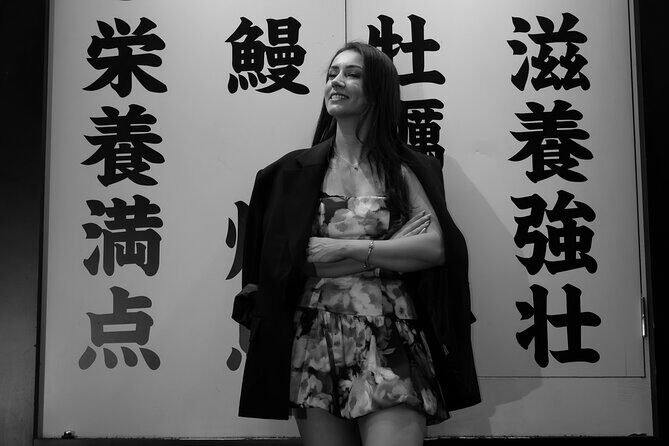
Next up is Golden Gai, the narrow-alley nightlife district known for its compact bars, colorful signage, and retro vibe. This is where the tour earns its keep, because Golden Gai is the kind of place you can walk past repeatedly and still not photograph well.
Your guide helps you find angles that work with the alley geometry—so you don’t end up with a photo where you’re the subject but the background looks accidental. You’ll also get portraits that feel more like a movie still: moody, with deep shadows and strong points of light.
If you’re nervous about being photographed, this is also a good spot to relax in. The streets are busy, but the scene itself is visually loud in a good way, so your photos don’t rely on perfection as much as they rely on atmosphere.
Kabukichō and the Godzilla Head: Big Neon Energy, Controlled Composition
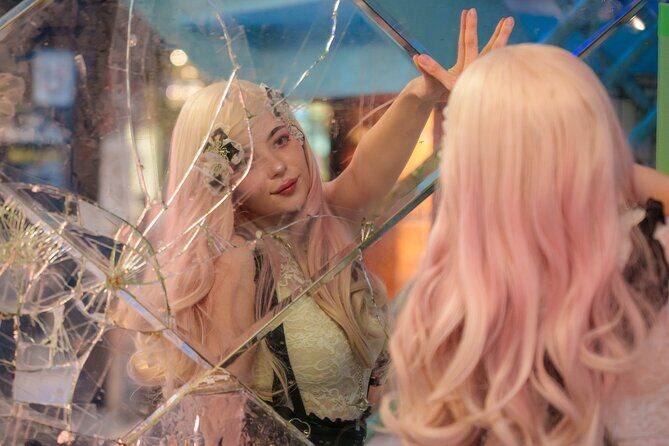
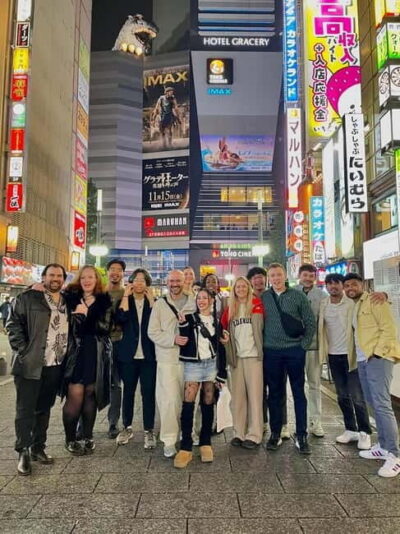
Then the tour shifts into Kabukichō, including the famous Godzilla Head area. This part of Shinjuku is loud in the best way—signs, crowds, and motion that can make night photos look exciting.
The trick with neon-heavy areas is avoiding overexposure and washed-out faces. A photographer guide helps you choose where to stand so the neon becomes a supportive background rather than a lighting disaster.
You’ll likely capture bolder, colorful frames here, with the street acting like a stage. The guide also helps you keep the pace so you’re not stuck waiting for the exact moment. With an hour and a half total, time matters.
Possible consideration: Kabukichō gets busy. If you don’t like crowds at all, you might want to mentally prepare for a more energetic stretch, even though the tour is planned to keep things efficient.
Jōuenji Temple Lanterns: Warm Light That Flatters Real Faces
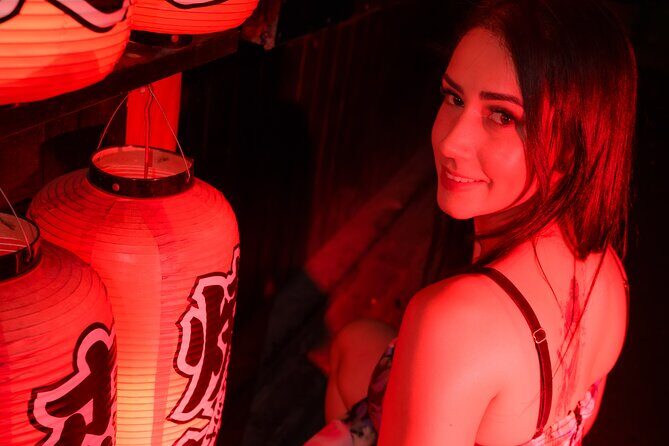
For a slower, more atmospheric segment, you’ll do a lantern photo shoot at Jōuenji Temple in Nishi-Shinjuku. Lantern light is gold for portraits because it’s warm and forgiving. It can make skin tones look natural while still giving you that night glow you’re chasing.
This stop adds emotional variety to the tour. If the earlier sections felt like neon-and-motion Shinjuku, the lantern rows create a calmer scene where your photos can look softer and more personal.
A practical note: this is still part of a walking tour. Even though the setting is serene, you’ll want to keep your feet steady and follow the guide’s placement instructions so you’re not blocking others or stepping where you shouldn’t.
Shintoshin Pedestrian Bridge: Finish with Shinjuku Skyline Night Views
To wrap up, you’ll head to Shintoshin Pedestrian Bridge for a night view portrait session. This is the place where the city looks like a city—bright, layered, and deep, with Shinjuku’s skyline spreading behind you.
A skyline stop is a smart final move. Your night photos shift from close-up texture (shrines, lanterns, alley signs) to the bigger context of Tokyo’s scale. It’s the kind of ending that makes your photo set feel complete, not random.
If you’re hoping for photos where you look like you’re traveling rather than just posing in a street, this part usually delivers. The background does the storytelling for you.
How the 90 Minutes Actually Feel: Pace, Walking, and Group Flow
The tour lasts about 1 hour 30 minutes and includes about 3 km of walking. That’s not extreme for a healthy traveler, but it is enough that you should treat this like a night stroll with purpose, not a sit-down experience.
Because the schedule moves location to location—Sanchome to Hanazono Shrine to Golden Gai to Kabukichō to Jōuenji to Shintoshin Bridge—you’ll want comfortable shoes and a jacket or top layer. Night air in Tokyo can feel cooler than you expect, especially when you stop for photos.
Also, the tour is private for your group. That’s good for photo timing because you’re not getting shoved into a crowded lineup with strangers. It also means the guide can tailor the flow slightly to how your group is doing, as long as the overall schedule stays on track.
Who it suits best:
- You want pro results fast without spending evenings fiddling with settings
- You like nighttime Tokyo but don’t know where to go for photos
- You’d rather focus on enjoying the scenes while someone else handles composition
Who might hesitate:
- If walking 3 km and standing for photos is tough, this may not be the best fit
- If you only want daytime sightseeing or quiet nature photography, the Shinjuku vibe is clearly nightlife-first
Price and Value: What $85.89 Buys You (and What It Doesn’t)
At $85.89 per person, this isn’t a budget “just walk around” activity. But you are paying for several things that usually cost time and frustration if you DIY it.
Here’s what you’re really buying:
- A planned route through multiple photogenic Shinjuku micro-zones
- A photographer guide who directs you instead of letting you guess
- A welcome drink included at the start
- At least 20 professionally edited photos afterward, which saves you the “night photo cleanup” headache
If you’re traveling as a couple or with friends, group discounts can also change the equation. Even without that, it’s often a strong value when you consider the cost of a professional photographer session plus your lost time scouting locations.
What it doesn’t replace: this won’t magically make you a night photography expert in one night. Instead, it gives you great output with minimal effort, which is honestly the point for most travelers.
Logistics That Matter: Meeting Point, Ending Area, and How to Find Your Way
You meet at Marugo GrandeJapan (Shinjuku, 3-chōme, 6-14 1F). After the tour, you end at 1-chōme-3-17 Nishishinjuku.
If you’re walking around Nishi-Shinjuku earlier that evening, the end area near FamilyMart Nishi-Shinjuku 1-Chome Store can be a helpful reference point. It’s on a street corner near Kogakuin University, so it gives you an easy landmark if you’re checking your position on your phone.
You’ll also receive a mobile ticket, which is convenient. Japan is very efficient about digital ticketing, and this keeps you from losing paper in your day bag.
Before You Go: Small Choices That Improve Your Photos
Night photography is picky. The good news is you don’t need to become a camera nerd. You just need a few practical things right.
Wear:
- Comfortable shoes for roughly 3 km walking
- A layer for the cooler night air
- Something you’re comfortable moving in while you pose and change spots
Bring:
- Your phone if you want extra shots, but don’t expect it to replace the edited results
- A fully charged battery, since you’ll almost certainly want a few personal photos on top of the professional set
Mental plan:
- Let the guide direct you on where to stand and when to move. That guidance is the difference between a blurry mess and a clean portrait.
- Treat each stop like a mini scene: shrine quiet, alley mood, temple lantern warmth, skyline sparkle.
If you show up ready to follow instructions and enjoy the night, you’ll get a final photo set that feels like Shinjuku, not just random night street snaps.
Should You Book Pro Gota’s Shinjuku Night Photo Tour?
Book it if you want high-quality edited photos without spending hours planning or hunting down the best angles. The mix of Hanazono Shrine, Golden Gai, Kabukichō with the Godzilla Head area, Jōuenji lanterns, and Shintoshin skyline gives you variety in 90 minutes, which is hard to replicate on your own.
Skip or reconsider if walking 3 km and standing for photo moments doesn’t work for you. Also, if you hate crowds, Kabukichō may feel like more energy than you want, even though the tour still keeps things structured.
If you’re on a first Tokyo trip, or you only have one night you can spare for photos, this is a simple way to get keepers—plus a guide like Pro Gota (Gota-san) who helps you feel comfortable while the city does the heavy lifting.
FAQ
How long is the Shinjuku night photo tour?
The tour is approximately 1 hour 30 minutes.
What is the price per person?
It costs $85.89 per person.
What photo locations are included?
You’ll visit several Shinjuku night spots, including Shinjuku Sanchome, Hanazono Shrine, Golden Gai, Kabukichō (including the Godzilla Head area), Jōuenji Temple for lantern photos, and Shintoshin Pedestrian Bridge for night skyline portraits.
Is a welcome drink included?
Yes, a welcome drink at a bar is included.
How many photos will I receive after the tour?
You’ll receive at least 20 professionally edited photos.
Is this tour private?
Yes, it’s a private tour/activity, so only your group participates.
How much walking is involved?
You’ll walk approximately 3 km, so it may not suit people who have difficulty walking or standing for extended periods.
What is the cancellation policy?
You can cancel up to 24 hours in advance for a full refund. If you cancel less than 24 hours before the start time, the amount paid is not refunded.
More Tours in Tokyo
More Tour Reviews in Tokyo
Shinjuku After Hours: The Other Crawls
Fresh reviews from around Tokyo

Shinjuku Bar Hopping, compared.
 ★ 5.0Shinjuku Food Tour (13 Dishes at 4 Local Eateries)From $866,603 reviews
 ★ 5.0Tokyo Bar Hopping Tour in Shinjuku (All-You-Can-Drink + Dinner)From $1063,587 reviews
 ★ 4.9Shinjuku Food Tour (15 Dishes and 4 Eateries)From $852,033 reviews
 ★ 4.9Shinjuku Local Bar and Izakaya Guided Walking TourFrom $341,794 reviews
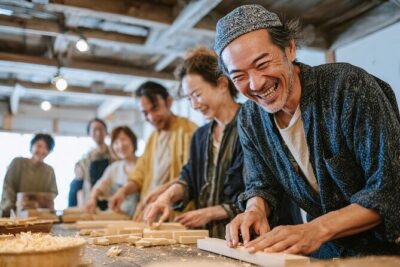 ★ 5.0Tokyo Shinjuku Chopsticks Making ClassFrom $201,763 reviews
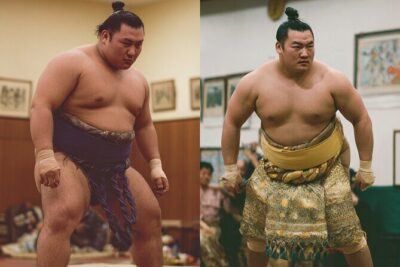 ★ 5.0Tokyo Shinjuku Sumo Show & Experience with PhotoFrom $791,750 reviews
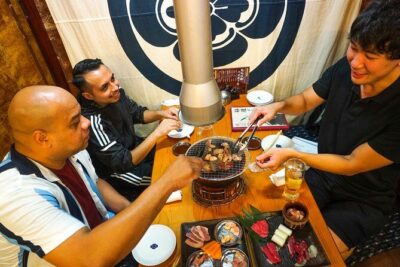 ★ 5.0Tokyo Night Foodie Tour in Shinjuku – Seasonal Sushi, Wagyu BeefFrom $1111,161 reviews
 ★ 4.8Sumo Show and Experience in ShinjukuFrom $691,001 reviews
Browse the lists this tour appears in