REVIEW · PHOTOGRAPHY SESSIONS
Tokyo Photography Masterclass – Private Photography Lesson
Book on Viator →Operated by Aperture Tours · Bookable on Viator
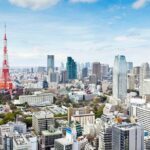
Tokyo looks different through a lens.
This private Tokyo Photography Masterclass turns real neighborhoods into your classroom, with coaching that fits your level, your camera, and what you want to photograph. You’ll work on street scenes in Shibuya and Harajuku, or head into neon-lit Shinjuku and temple quiet around Senso-ji after dark, with a route that can match your interests.
I especially like the focus on practical composition and the way you practice right where the photos happen. You also get clear instruction on aperture, shutter speed, ISO, and focusing, plus feedback when you review what you shot. For night shooting, that combination matters a lot.
One thing to plan for: your camera is not included. If you don’t have one (and especially if you want a tripod for low light), you’ll need to bring your gear or arrange a tripod rental.
In This Review
- Key things you’ll get from this Tokyo photo lesson
- Why a private Tokyo masterclass beats solo wandering
- Starting at Hachiko: Shibuya’s best launching pad
- Shibuya street photo practice: composition, motion, and street style
- How your guide helps you “see” better while you shoot
- Mastering the camera controls: aperture, shutter, ISO, focus
- Night photography in Tokyo: Shinjuku neon vs. Senso-ji quiet
- Where value really comes from in a 3-hour private lesson
- Who should book this photo masterclass (and who might not)
- Practical tips so you get better results immediately
- Should you book the Tokyo Photography Masterclass?
- FAQ
- What is the duration of the Tokyo Photography Masterclass?
- Where does the tour start and end?
- Is this tour private?
- What skills will the lesson cover?
- Do I need to bring a camera?
- Is there a mobile ticket?
- Is free cancellation available?
Key things you’ll get from this Tokyo photo lesson
- Private, tailored coaching: you choose what you want to work on, and your guide adjusts the pace.
- On-the-street composition practice: lines, repetition, texture, and angles taught while you’re shooting.
- Camera settings that actually click: aperture, shutter speed, ISO, and focusing, explained for your shots.
- Street scenes with famous Tokyo energy: starting at Hachiko and working around Shibuya’s photo hotspots.
- Night options that make low light easier: neon Shinjuku or calmer Senso-ji after dark.
- Feedback you can use immediately: you review your photography and tighten your results fast.
Why a private Tokyo masterclass beats solo wandering
Tokyo is packed with photo opportunities, but most people run into the same problem: you’re not sure what to change when your photos look flat. This lesson is built to fix that. It’s private, so the time goes into your questions and your camera behavior—not into generic tips that might not match your skill level.
The other big win is that you don’t just get a “where to stand” tour. You work on the thinking behind stronger images: composition and how lighting affects your subject. You’ll also practice sharpening your eye for what to include, what to ignore, and how to control the look using basic camera controls.
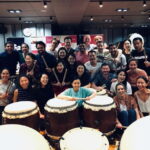
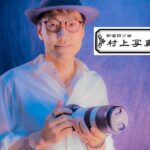
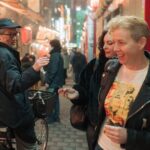
Finally, the instruction is paired with real Tokyo context. A guide who knows the streets can help you find angles and moments you’d likely miss while walking in a tourist loop. In one standout example, the teacher Karl gets praised for being friendly, sharing knowledge clearly, and helping people improve quickly.
You can also read our reviews of more private tours in Tokyo
Starting at Hachiko: Shibuya’s best launching pad

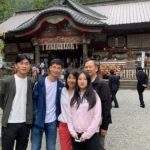
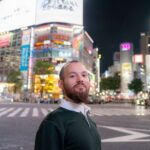
Your lesson kicks off at the Hachiko Statue near Dogenzaka in Shibuya. That’s not just a convenient meeting point. It’s a smart first location because the area funnels you into the kind of scenes photographers love: motion, crowd energy, and layered street detail.
From this starting point, you’re well positioned to work on street photography fundamentals right away. You can practice how to frame a busy scene without making it chaotic. And you can learn how to find compositional structure in places that look like they’re all randomness—like using lines formed by buildings and crossings, or repetition from signage and street elements.
This start also helps you settle quickly. A 3-hour session moves fast, so getting your bearings early means you spend more time creating photos and less time figuring things out.
Shibuya street photo practice: composition, motion, and street style
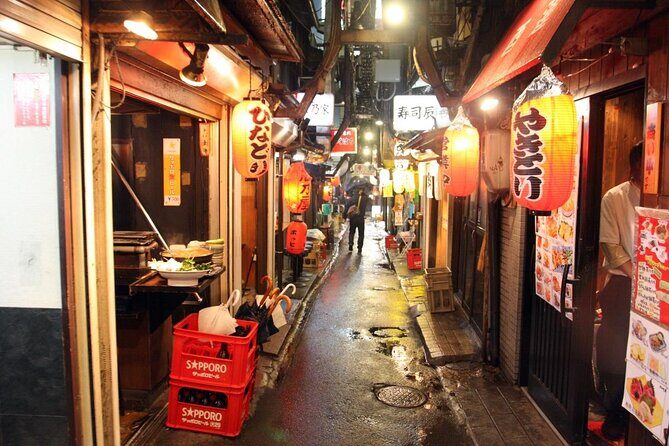
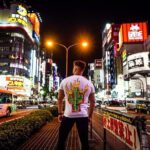
If you’re doing the street-focused part of the lesson, Shibuya becomes your main training ground. You’ll work through the “crazy pedestrian crossing” atmosphere and then keep going into quieter back streets where Tokyo shows a different face.
Here’s what I like about that flow for learning:
- At the crossing, you can experiment with motion and perspective.
- In the back streets, you can slow down and work on texture, pattern, and angles.
The lesson emphasizes compositional techniques like lines, repetition, texture, and angles. That list sounds basic until you apply it in real scenes. When you’re standing in Tokyo with people moving around you, you learn fast how to use structure instead of luck.
And if your route includes Harajuku, you’ll get another layer: eclectic youth fashion and street detail. That’s useful because fashion street photography teaches you how to isolate a subject from the background. You practice keeping attention on the person (or the moment) without letting the scene swallow your subject.
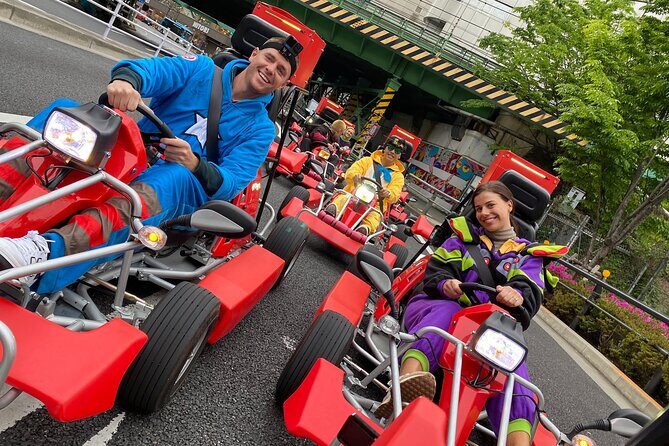
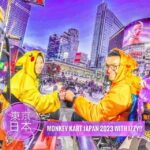
One more idea mentioned for street scenes: you might also work on effects like car trail streaks against a futuristic Tokyo backdrop. Even if you don’t get the exact result every time, it’s a great exercise for learning shutter speed and managing city light.
How your guide helps you “see” better while you shoot
Most photo lessons fail at the same moment: you learn terms, you take a few shots, then you’re left guessing what was good and what wasn’t. This one builds in the missing step: you’re guided while shooting and you also review your photography.
In plain terms, you’ll get coaching that connects three things:
- Your chosen subject
- The lighting you’re dealing with
- The camera settings you used
That matters because street photography is rarely about perfect conditions. It’s about making smart tradeoffs. A guide helps you decide things like: Should you blur motion here or freeze it? Should you raise ISO to keep shutter speed safe? Should you change your angle so the background stops fighting the subject?
If you’re a beginner, this feedback reduces guesswork fast. If you’re semi-pro, it helps you tighten how you plan and execute—without losing your eye for spontaneity.
Mastering the camera controls: aperture, shutter, ISO, focus
This workshop doesn’t treat settings like trivia. It teaches them as creative tools. Expect instruction on aperture, shutter speed, ISO, and focusing, then practical use during the walk.
Think of it like this:
- Aperture helps you control depth of field and subject separation.
- Shutter speed controls motion blur and light capture.
- ISO affects brightness and noise, especially in low light.
- Focusing determines sharpness where it counts—on the face, the sign, or the key detail.
You’ll also learn how composition and lighting connect to these settings. For example, if lighting drops, you might need a strategy shift. If you want to freeze action at a crossing, you’ll likely need a different approach than if you want a smooth motion look.
One practical note: since a tripod can be rented (even though it’s not included), it’s easier to plan for sharper night shots or longer exposures when conditions call for it.
You can also read our reviews of more photography tours in Tokyo
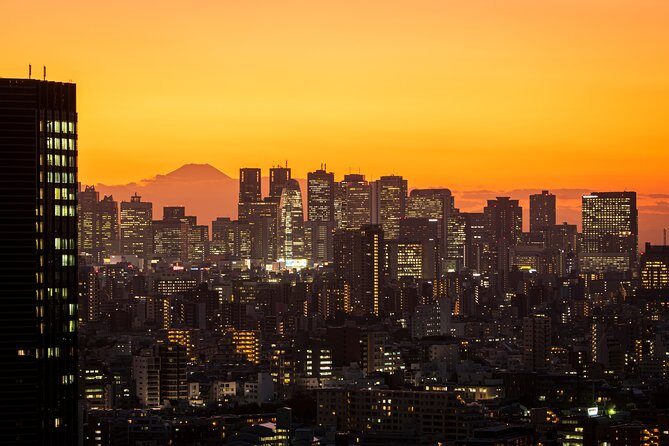
Night photography in Tokyo: Shinjuku neon vs. Senso-ji quiet
Tokyo at night is where a photo lesson really proves its worth. Without guidance, low light turns into a blurfest. With guidance, it becomes controllable.
The lesson offers night options, and I like that choice because Tokyo gives you two very different moods:
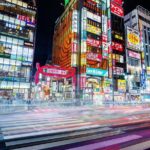
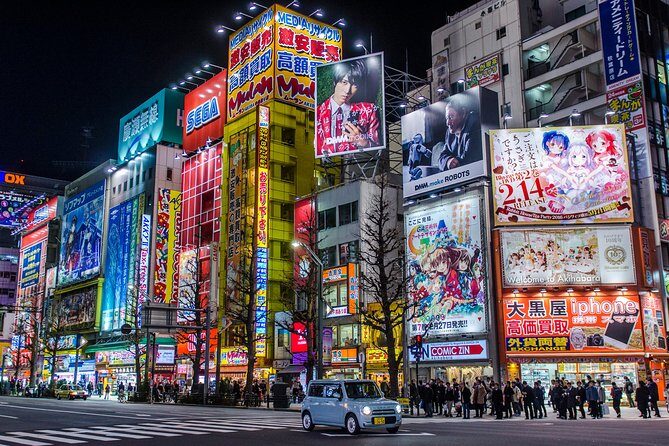
- Shinjuku: neon lights, skyscrapers, and crowded streets where you can play with high-contrast colors and reflections.
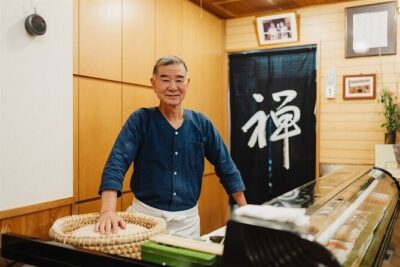
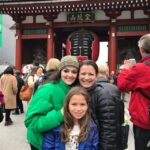
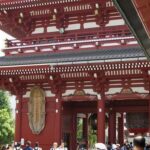
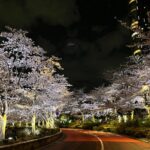
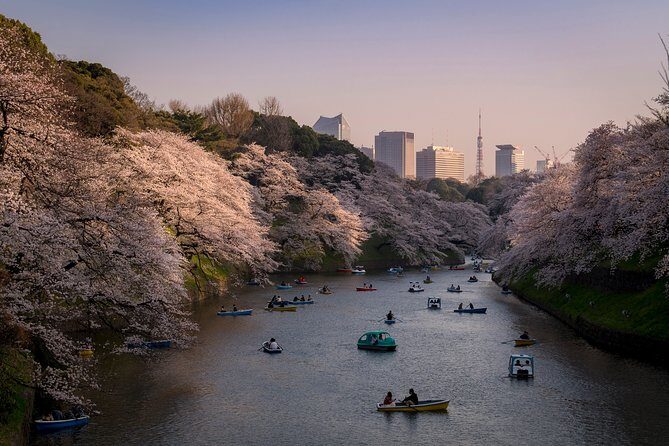
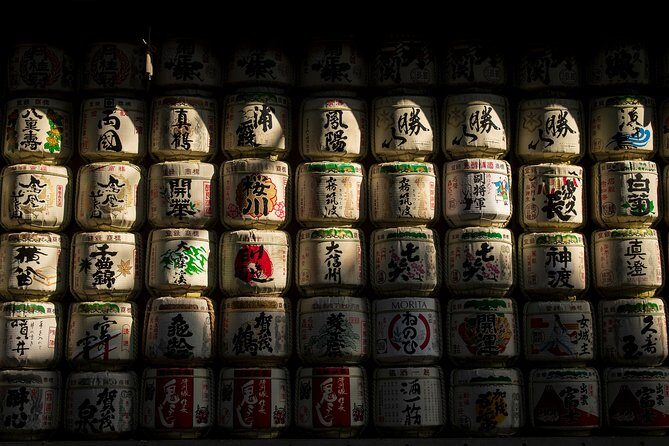
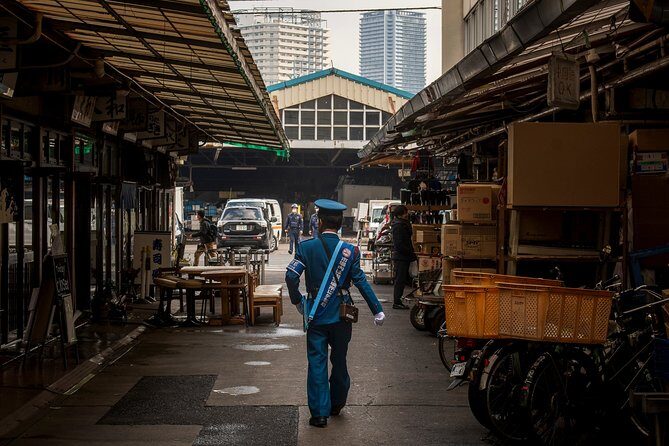
- Asakusa around Senso-ji: a calmer setting where you can shoot the Buddhist temple after dark and focus on atmosphere and structure.
For Shinjuku, you can practice how to handle bright lights without losing detail, and how to keep your subject readable against a mess of signage. For Senso-ji, you can train your eye for calmer framing—using the temple and nearby paths as compositional anchors instead of relying on pure color.
Either way, the guiding theme stays the same: your coach helps you choose settings for the look you want and keeps your focus where it should be.
Where value really comes from in a 3-hour private lesson
At $190 per person for about 3 hours, the price can feel either high or fair depending on what you’re trying to get.
Here’s my value take:
- If you’re trying to improve fast, you’re paying for feedback and decision-making help in real time.
- You’re also paying for local knowledge of the places and angles that fit street and night photography.
- The tour is private, so you’re not sharing the coach with strangers who might want a totally different style.
It’s also booked ahead in decent numbers (around 24 days on average), which usually means people find it useful enough to plan for. If you want the best chance of fitting it early in your trip, that’s another reason to book promptly.
One more cost reality: your camera isn’t included. If you’re traveling light, consider whether you’re bringing a camera body and lens that can handle night scenes. If not, plan for a rental or decide how you’ll work with what you have.
Who should book this photo masterclass (and who might not)
This is a great fit if:
- You’re new to photography and want a guided path through the basics that actually show up in your shots.
- You’re tired of vague advice and want direct coaching for your camera settings and composition choices.
- You want street and night Tokyo in one compact session, with a guide who can adjust based on your goals.
- You like photo learning that mixes famous places with the ability to find angles and details beyond the obvious.
It may be less ideal if:
- You want a long, slow walk with lots of free time to wander. Three hours goes quickly when you’re actively shooting and reviewing.
- You don’t want instruction at all and prefer a purely observational experience.
Practical tips so you get better results immediately
A lesson like this is short. So your preparation makes a difference.
- Bring a charged battery and any extra memory cards you might need.
- If you have a lens choice, think ahead about night: a lens that gathers light makes things easier.
- Wear comfortable shoes. Shibuya and Harajuku walking adds up.
- Decide your goal before you start: do you want sharper subjects, more motion blur, or stronger nighttime color effects?
- If you plan to rent a tripod, confirm whether you’ll bring a bag setup that makes it easy to carry.
And once you’re shooting, keep asking one core question: what am I trying to make the viewer notice? Your guide’s composition teaching works best when you’re actively trying to answer that.
Should you book the Tokyo Photography Masterclass?
If you want Tokyo street or night photos that look intentional—not accidental—this is a strong bet. The private setup, the emphasis on composition, and the instruction on aperture, shutter speed, ISO, and focusing are the real reason this kind of lesson pays off. Add in the fact that the teacher Karl is repeatedly praised for friendly, clear instruction and the results people come away with, and you’ve got a lesson that’s built to improve your photos fast.
My call: book it early in your trip if you can. The skills you learn here will help you photograph the rest of Tokyo more confidently, not just during these three hours.
FAQ
What is the duration of the Tokyo Photography Masterclass?
The private photography lesson runs for about 3 hours.
Where does the tour start and end?
It starts at the Hachiko Statue near 2 Chome-1 Dogenzaka, Shibuya, Tokyo, and ends back at the meeting point.
Is this tour private?
Yes. It’s a private tour/activity, with only your group participating.
What skills will the lesson cover?
You’ll work on composition techniques, how to improve your eye for subject and lighting, the basics of aperture/shutter speed/ISO/focusing, and reviewing your photography.
Do I need to bring a camera?
Yes. The camera is not included. A tripod is also not included, though it is available to rent.
Is there a mobile ticket?
Yes. The experience includes a mobile ticket.
Is free cancellation available?
Yes. You can cancel for a full refund up to 24 hours in advance.