
Reviewed · PHOTOGRAPHY SESSIONS
Tokyo: Photography Masterclass – Private Photo Lesson
Tokyo has a way of speeding up your eye. A private photo lesson here helps you slow down just enough to actually see what matters.
I like the way this experience is built around your gear and your level, not a one-size-fits-all route. The tour starts with coffee, then you go through camera-focused fundamentals so your guide (you might get Karl, Tim, or Ivan) can steer you toward the right shots. You also get hands-on guidance that focuses on what to do with your camera in real situations, not just theory.
One possible drawback: you’re responsible for your own camera, and a tripod isn’t included (it’s only available to rent by request). Also, this is a photography lesson, not a portrait session, so don’t expect someone to photograph you.
In This Review
- Key moments that make this worth your time
- Shibuya’s Hachiko Meeting Point and Coffee Warm-Up
- How the Camera Lesson Actually Helps (Not Just Theory)
- Shibuya Crossing: Learning to Shoot the Chaos
- Shibuya Back Streets and Harajuku’s Street-Style Frame Practice
- Day vs Night: Choosing Tokyo Light for Your Style
- What You Get for $323: Value for a Private Instructor
- Who This Private 3-Hour Session Fits Best
- The Booking Decision: Should You Book This One?
- FAQ
- FAQ
- What is the duration of the tour?
- Is this a private group?
- What language is the guide?
- Where do we meet?
- How do I get there by train?
- Is a camera provided?
- Can I rent a tripod?
- Is this a portrait session?
- Is the tour suitable for beginners?
- Do I need to pay immediately?
- How many tour options are there?
Key moments that make this worth your time
- Coffee + quick assessment so your guide can match the route to your skill level
- One-on-one coaching with technical sheets and practical shooting guidance
- Spot knowledge that’s very specific, including planning shot-by-shot (focal length, shutter choices)
- Shibuya at full intensity, from the big crossing to calmer back-street angles
- Day and night options, so you can choose between neon-heavy darkness or daylight clarity
- Harajuku-style street energy, with opportunities to practice street photography techniques on the move
More private options with your own guide
- Tokyo 6hr Private Tour with Government-Licensed Guide★ 5.0 · 3,902 reviews
- Private Tour to Mt. Fuji and Hakone (Fully Licenced Operator)★ 5.0 · 1,910 reviews
- Tokyo Customized Private Tour (Must See Places in 1 Day)★ 5.0 · 1,499 reviews
Shibuya’s Hachiko Meeting Point and Coffee Warm-Up
The tour begins at the Hachiko Memorial Statue in Shibuya, the bronze statue honoring the loyal Akita dog. It’s a smart choice for a photography class because you’re already in a place where Tokyo tells its most visual story fast: crowds, signage, reflections, and constant movement.
Getting there is straightforward if you’re using the train. Get off at Shibuya Station and exit via the Hachiko exit (it lines up well with the vibe of the meeting point). If you’re taking a taxi, you can ask to be dropped near the Hachiko area around Shibuya Station.
Then comes the part I appreciate most: coffee before you shoot. You don’t just meet your instructor and sprint into the streets. You start by establishing your level and understanding what you’re already comfortable with. From there, you’ll go through technical sheets and make sure you have a workable feel for your camera before Tokyo throws real-world distractions at you.
For me, that early prep matters because it reduces that common travel-photo problem: guessing settings while the moment disappears. With a short start-up like this, you spend more time practicing and less time turning random dials.
How the Camera Lesson Actually Helps (Not Just Theory)
This tour is designed as a true photography lesson, and it shows in how the coaching is structured. You’ll get guidance that helps you translate what you learned to what you’re seeing outside.
A big plus: the instruction is suitable for all levels. If you’re brand new, the guide can help you build the basics for street shooting. If you’re already comfortable with your camera, you’ll still get something new—often in the form of more precise shot planning and adjustments on the fly.
One theme that comes through strongly from instructors and experiences is planning for specific shots. Ivan’s approach, for example, was described as exceptional when it came to knowing locations precisely and understanding what focal length each shot would likely need. That’s exactly the kind of thinking you want in a city like Tokyo, where one street corner can look completely different depending on whether you frame wide or compress the scene.
You may also be coached on special settings and shooting techniques, depending on what you’re aiming for. You might get pointers for slower shutter effects, or ways to approach time-lapse style thinking when the scene calls for it. The key is that it’s tied to what you’re shooting, not a generic list of modes.
And remember one important boundary: this is not a portrait session. You’re improving your photos of Tokyo, not getting photographed yourself.
Shibuya Crossing: Learning to Shoot the Chaos
Shibuya is famous for a reason, and this tour uses that fame strategically. You start in the Shibuya area and you’ll spend time around the iconic pedestrian crossing—one of the craziest and most visually busy crosswalk experiences in the city.
Here’s why that matters for a photography lesson: the crossing gives you constant subjects, changing light, and motion you can’t replicate indoors. You’ll have chances to practice timing (when to press), composition (what to include or exclude), and exposure choices (how to handle bright signs and darker subjects in the same frame).
A good guide also helps you predict what will happen next. That sounds obvious, but on a crossing it’s the difference between a series of blurry frames and a set of images that actually communicate the energy. The best part of guided street photography is not just finding the location. It’s helping you understand how to work it.
Practical consideration: it’s busy. You’ll need to be ready to work quickly and respectfully, and to keep your eyes on both the scene and your camera settings. If your goal is crisp, intentional street portraits of strangers, this spot may not match your expectations—but if your goal is Tokyo-at-full-volume storytelling, it’s ideal.
Shibuya Back Streets and Harajuku’s Street-Style Frame Practice
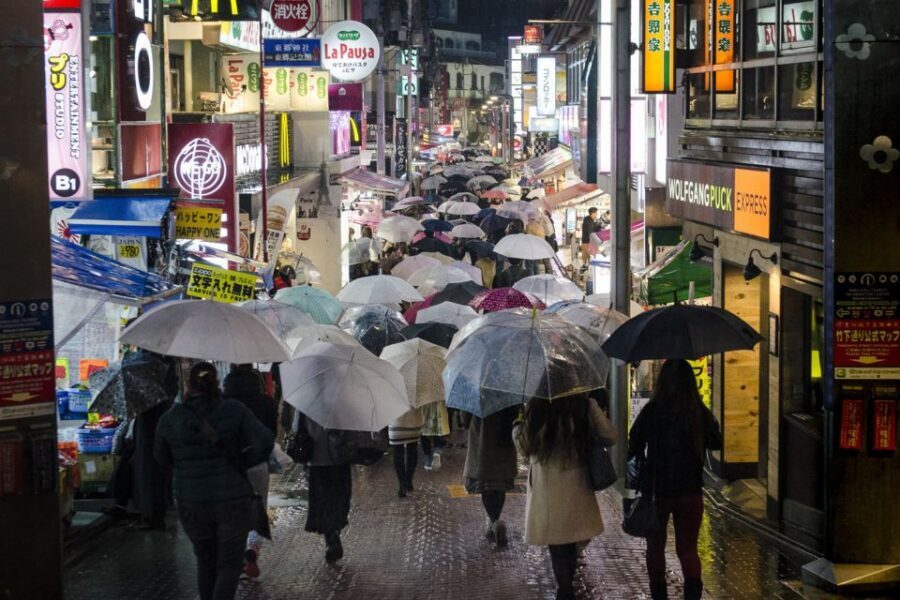
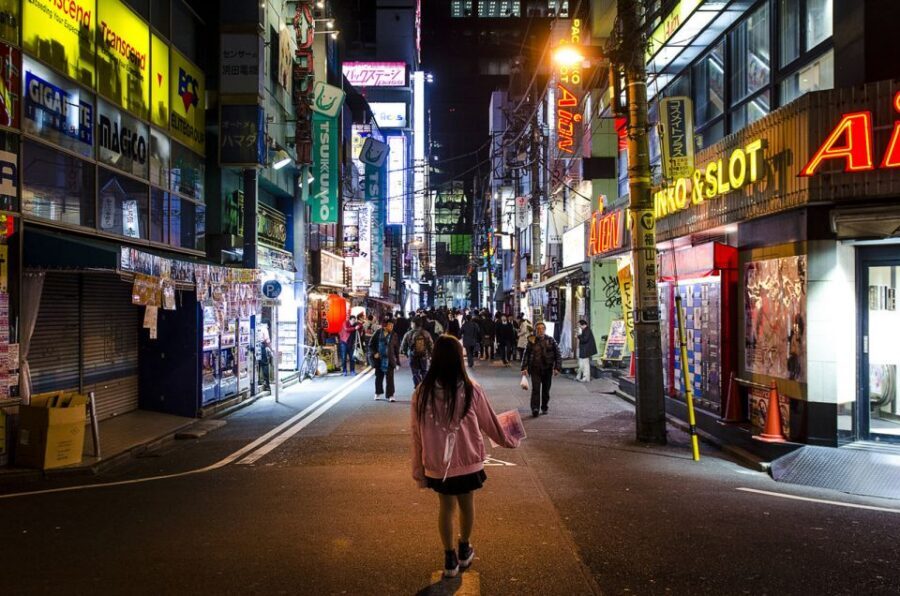
After the big Shibuya moment, the tour shifts toward back streets in Shibuya. This is a smart move for photographers because it breaks the rhythm of one landmark shot. Back streets tend to offer stronger geometry: narrower alleys, layered signage, and more varied textures—often with fewer visual interruptions than the main crossing.
Then you’ll work toward the Harajuku area, where street photography gets even more interesting because of style. The tour highlights Harajuku’s eclectic youth fashion, which gives you color, silhouette opportunities, and natural styling without forcing staged scenes.
This is where technique becomes real. Street-style scenes ask you to practice:
- framing fast while people move,
- keeping your focus and exposure stable in changing light,
- and choosing whether you want motion blur to feel energetic or prefer sharp detail to show texture.
If you’re the kind of photographer who likes to experiment, you’ll probably enjoy the fact that the tour keeps moving rather than staying stuck on one view. You’ll get repeated practice at the skills that matter most in street work: noticing backgrounds, controlling what’s in your frame, and using the city as a setting instead of a backdrop.
More frames: other photo sessions in Tokyo
Day vs Night: Choosing Tokyo Light for Your Style
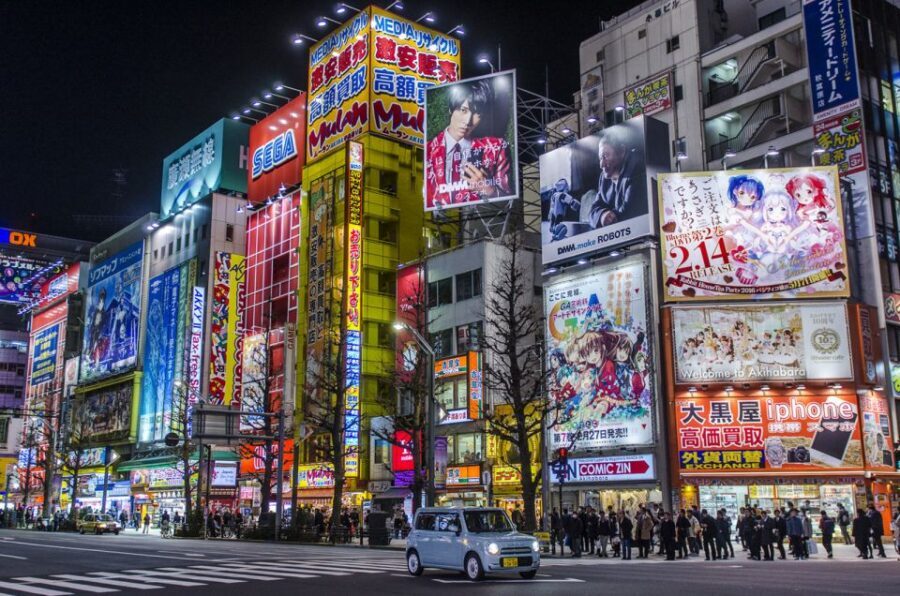
You can choose between a 3-hour day tour, a 3-hour night tour, or a combined 6-hour day-and-night option. The obvious difference is lighting. The bigger difference is what Tokyo feels like through your lens.
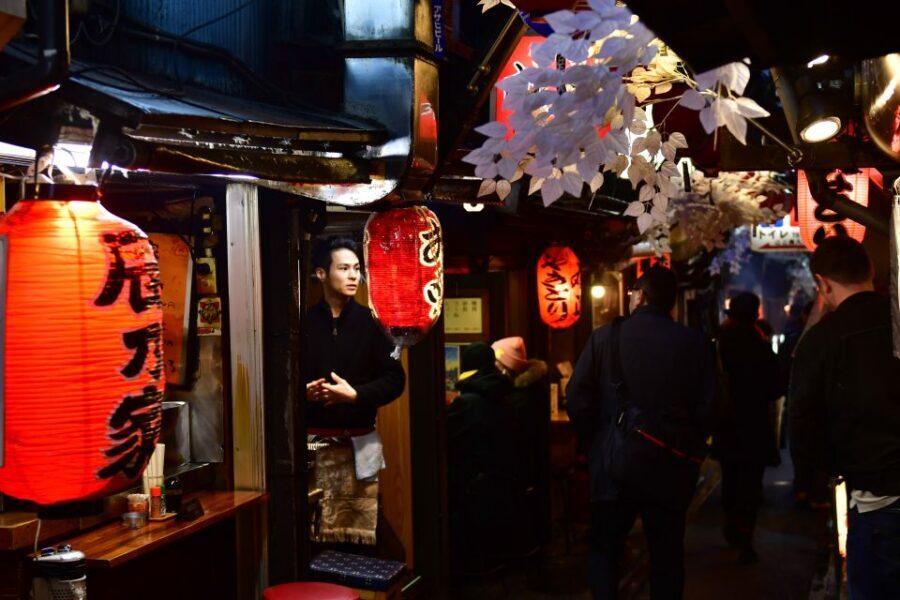
Night shooting tends to reward photographers who are willing to lean into reflections, neon brightness, and contrast. In a night tour experience led by Tim, the coaching included helpful camera setting tips and a focus on capturing spots that work well after dark. That’s the kind of guidance that helps you avoid the common mistake of underexposing the scene or washing out highlights.
Day shooting often gives you clearer visibility for details and color, and it can make it easier to keep your settings consistent while you learn. It’s also practical if you want a smoother experience with fewer low-light variables.
If you’re deciding which to book, think about how you like your images to feel:
- Want clean detail and easier exposure control? Go day.
- Want mood, neon, and a challenge with contrast? Go night.
- If you want the full lesson experience of how the city changes, consider the combined option.
What You Get for $323: Value for a Private Instructor
At $323 per group for up to 2 people, this is priced like a true private workshop rather than a mass tour. For your value math, that matters. If you’re going as a pair, the per-person cost drops a lot compared with booking separate instruction times.
You’re paying for two things that are hard to replicate on your own:
1) a local guide who knows how to move you through the right streets at the right times, and
2) a professional personal photography instructor who can correct your camera decisions and help you refine your approach.
What’s not included is equally important: your camera is not provided, and a tripod is not included (but you can rent one by request). If you’re comfortable handheld, you’ll probably be fine. If you rely on longer shutter speeds or want more stability for night work, plan ahead and consider requesting tripod rental early.
In plain terms, this tour is worth it when you want faster learning. If you’re the type who learns by shooting a lot and then reviewing what you did wrong, the guided feedback you get here can save you hours of trial-and-error on your own.
Who This Private 3-Hour Session Fits Best
This works well for photographers at all levels, but it hits hardest if you fall into one of these categories:
- You can operate your camera but struggle with street composition and setting choices.
- You want to learn what focal lengths and shooting approaches fit the scene, then practice immediately.
- You want a route built around your interests, whether that means returning to specific areas for a better take or spending more time on a landmark like the Hachiko crossing area.
It’s also ideal if you’re traveling with limited time in Tokyo. Three hours is long enough to get your footing and short enough to stay flexible. Plus, because it’s private, you won’t be stuck waiting for a group pace that doesn’t match your learning curve.
One more reality check: because it’s not a portrait session, it’s best if you actually want to photograph the city—people as part of the street scene, signs, motion, and architecture—rather than having a photographer direct you for personal portraits.
The Booking Decision: Should You Book This One?
Book this photo masterclass if you want Tokyo street photography that’s taught while you shoot. The structure—coffee first, then camera coaching with technical guidance, then targeted street practice—helps you turn chaos into usable photos.
Skip it if your main goal is portraits of yourself, or if you’re expecting a fully provided camera-and-gear experience. You’ll need your own camera, and you may want to request a tripod for your preferred style, especially for night shooting.
If you’re on the fence, here’s the tie-breaker I’d use: if you want help choosing settings and building intentional shots in real street conditions, this private format is the kind of learning shortcut that can pay off quickly in Tokyo.
FAQ
FAQ
What is the duration of the tour?
The tour lasts 3 hours.
Is this a private group?
Yes. It’s a private group experience.
What language is the guide?
The live tour guide is available in English.
Where do we meet?
You meet at the Hachiko Memorial Statue in Shibuya.
How do I get there by train?
Get off at Shibuya Station and exit via the Hachiko exit.
Is a camera provided?
No. The camera is not included.
Can I rent a tripod?
Yes, tripod rental is available by request.
Is this a portrait session?
No. This is a photography lesson focused on taking better photos of Tokyo. They will not take photos of you.
Is the tour suitable for beginners?
Yes. The lesson is suitable for all levels, including people just picking up a camera.
Do I need to pay immediately?
You can reserve and pay later.
How many tour options are there?
You can choose a 3-hour day tour, a 3-hour night tour, or a 6-hour combined day and night tour.
Better Photos of Your Trip
Just Your Group: Private Options

More Tour Reviews in Tokyo
Fresh reviews from around Tokyo


Photography Sessions, compared.
 ★ 4.8Tokyo Go-Karting Experience: Shibuya Crossing with PhotosFrom $90190 reviews
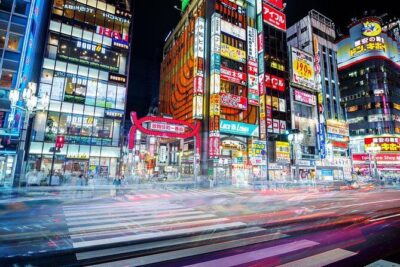 ★ 5.0Tokyo Cyberpunk Street Photo TourFrom $184165 reviews
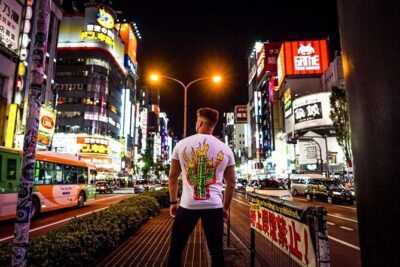 ★ 5.0Tokyo by Night Photography Tour (Private Option Available)From $105151 reviews
 ★ 5.0Tokyo Shinjuku Night Photo Tour with Pro GotaFrom $85142 reviews
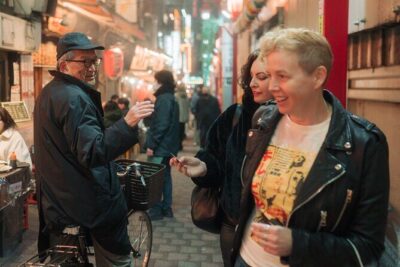 ★ 5.0Tour with Pro Tokyo Photographer and take Edgy Unique PortraitsFrom $14580 reviews
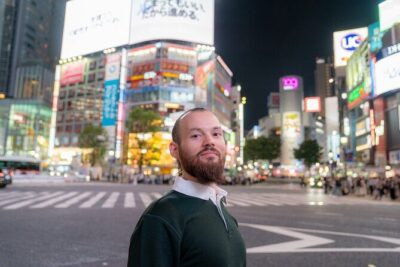 ★ 5.0Tokyo Portrait Tour with a Professional PhotographerFrom $9258 reviews
Tokyo Asakusa: Miu Kimono Rental and Optional PhotoshootFrom $3254 reviews
★ 5.0Tokyo Portrait Tour with a Professional PhotographerFrom $9258 reviews
Tokyo Asakusa: Miu Kimono Rental and Optional PhotoshootFrom $3254 reviews
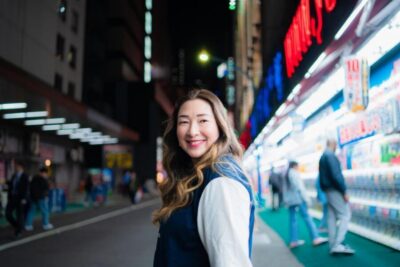 ★ 5.0Photo Shoot with a Private Vacation PhotographerFrom $28353 reviews
Browse the lists this tour appears in