REVIEW · PHOTOGRAPHY SESSIONS
Travel Tokyo with Your Own Personal Photographer
Book on Viator →Operated by Photo Tour in Tokyo, UVEGOTJAPAN · Bookable on Viator
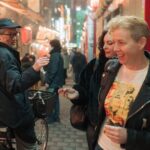
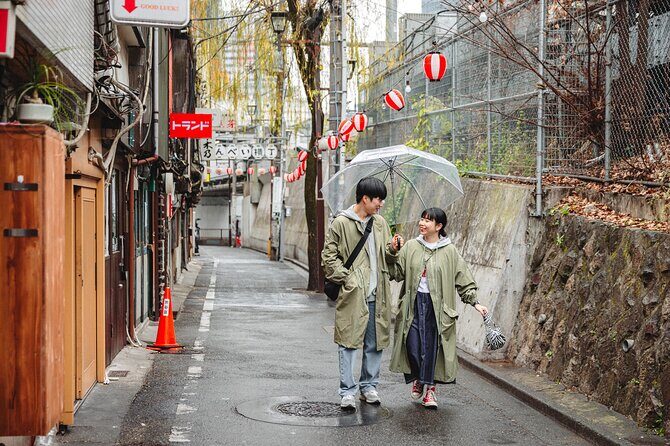
One hour in Tokyo, and you look great. This private photo session pairs you with pro photographer Joe so you’re not just wandering for selfies—you’re getting guided, camera-ready moments in real Tokyo scenes like Shibuya Crossing. I like that it’s built around what you want to photograph, not some rigid tour script. One thing to consider: it stays limited to the main Tokyo city area, so you can’t tack on trips like Fuji, Kamakura, or Yokohama.
The real value shows up in the deliverables. You’ll get around 300–400 original photos (sent about 2 days after), plus 20 fully retouched photos that you choose for final polish. That’s a lot of keepers for a one-hour shoot—and it’s ideal if you want memories you’ll actually want to post.
In This Review
- Quick hits before you book
- Why this private Tokyo photo walk feels different than sightseeing
- Price and value: what $145 really buys you
- Picking your Tokyo zone: Shibuya, Shinjuku, Tokyo Tower, and Asakusa
- Entering the shoot: where you meet and how the walk is paced
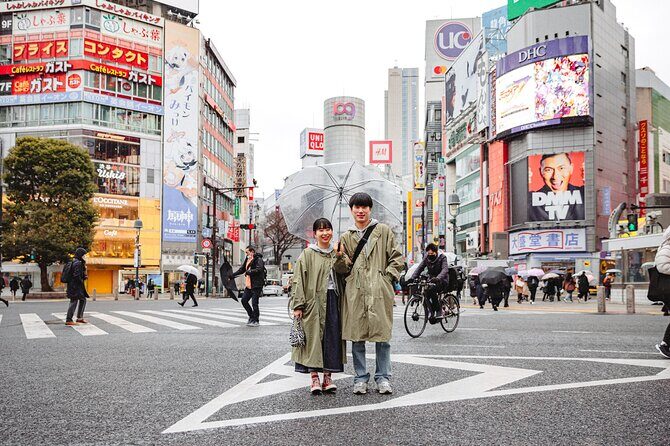
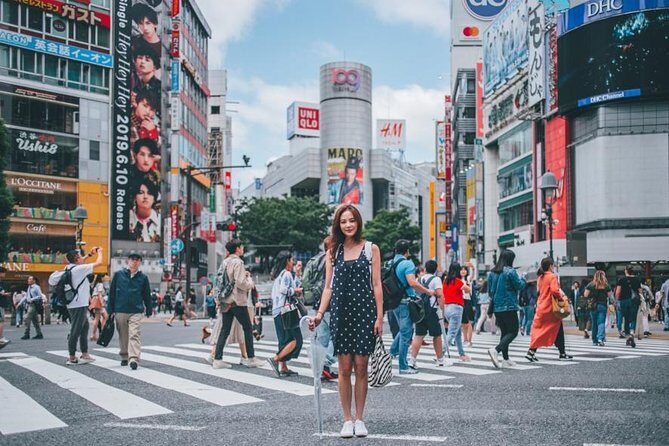
- Stop 1: Shibuya Crossing and how to get photos without feeling lost
- Stop 2: Tokyo Tower for skyline frames and classic “I’m here” shots
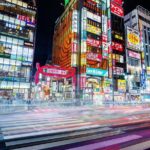
- Stop 3: Shinjuku Golden Gai for mood shots with character
- How the photographer works: posing help, candid timing, and your photo style
- What to request before your shoot so the photos match your life
- Practical tips for getting the most from your one-hour session
- Who should book this Tokyo personal photographer session?
- Should you book this? My straight advice
- FAQ
- How long is the Tokyo photo session?
- What photos do I receive, and when?
- Can I choose which photos get retouched?
- Does the retouching change faces or bodies?
- Which areas of Tokyo can we photograph?
- What if weather is poor?
Quick hits before you book
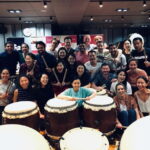
- Private session with your own photographer: solo, couple, or family time, not a big group shuffle
- Hundreds of frames, fast delivery: originals land in about 2 days, then the selected retouches follow
- Photo style reference up front: you can share your vibe using Instagram @uvegotmoment
- Classic Tokyo backdrops, plus flexibility: Shibuya, Tokyo Tower, Shinjuku Golden Gai, with add-on options like Asakusa
- No face/body retouching: you’ll get editing for light, color, and composition, not makeup-level changes
Why this private Tokyo photo walk feels different than sightseeing
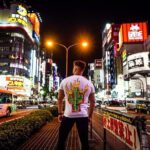
Tokyo is a photo machine. But when you’re on your own, it’s easy to end up with either blurry snapshots or forced posing. This experience solves both problems by turning the walk into a guided photo session. You’re not standing around waiting for someone to take your picture—you’re moving through the city while your photographer works angles, timing, and angles again.
Joe’s approach matters because he doesn’t just tell you where to stand. He helps with how to stand, how to look, and how to feel natural. That’s a big deal if you’re camera-shy, traveling as a couple, or trying to get photos with kids without turning the whole day into a stressful production.
You also get to work from a real style reference. Before the session, you’re prompted to check his photo style on Instagram (@uvegotmoment). That gives you a chance to align expectations so the final images match what you’re hoping for, whether that’s clean composition, warm street-color, or a more candid feel.
You can also read our reviews of more photography tours in Tokyo

Price and value: what $145 really buys you
At $145 per person for about an hour, you’re paying for three things: direction, shooting time, and post-production. The direction is on the ground—you’ll be guided through spots that work for photos. The shooting time shows up as volume: around 300–400 original photos.
That number isn’t there just to make you feel good. It gives you options. One photo can be slightly off on a hand position, another has a better expression, and another catches the background just right. When you’re traveling, that kind of “backup” is the difference between a decent set and a full album you’ll actually keep.
Then there’s the retouched set. You choose 20 photos for full retouching, and the editing is described clearly: light, exposure, angle, cropping, composition, and color-grade editing in the photographer’s style. Importantly, there’s no body/face retouching. So if you want natural results with better lighting and stronger framing, you’re in the right place.
On top of that, the delivery timeline is fast for a photo service: originals in 2 days, retouched images within about 7 days. If you’re trying to get photos back while you’re still excited about the trip, this timeline helps.
Picking your Tokyo zone: Shibuya, Shinjuku, Tokyo Tower, and Asakusa
This session is built for the main Tokyo city area only. That means you’ll stay in Tokyo’s core neighborhoods and landmarks, rather than branching out to day-trip distances. If you’re dreaming about a classic “Tokyo morning” or “Tokyo night look,” this limitation is actually useful—it keeps the shoot focused and keeps you from wasting time commuting.
You can also steer the session toward places you want. The experience notes that you set it up: tell the photographer where you want to go for street photography, and they’ll recommend several great spots for photos. There are also common recommendation areas that help you plan your request:
- Shibuya
- Shinjuku
- Tokyo Tower
- Asakusa
From the planned route, you can expect the session to include iconic stops such as Shibuya Crossing, Tokyo Tower, and Shinjuku Golden Gai. Still, the smart move is to communicate your priorities early: do you want more neon street vibes in Shibuya, a skyline moment at Tokyo Tower, or the alley-style mood of Golden Gai?
Also, the tour is private for your group only. That matters because you’re not competing for angles or waiting your turn. You’re moving at the photographer’s pace, and you get real attention.
Entering the shoot: where you meet and how the walk is paced
Meeting points are listed, and it’s worth paying attention to what your confirmation says. The information provided includes a start at Starbucks Coffee in Shibuya Tsutaya and also a Shinjuku start at GAP cafe Shinjuku Flags ShopJapan (Flags, 1F/B1F). Since confirmations depend on availability, I’d treat the message you receive as the final word on the exact meeting location.
The session itself is short—about 1 hour—so you’ll want to show up ready to move. Wear shoes you can walk in without thinking about them. Tokyo sidewalks are great, but one-hour photo sessions still mean lots of repositioning: crossing streets, turning corners, finding light.
One other practical note: this activity is not wheelchair accessible. If accessibility is a factor for someone in your group, double-check alternatives early.
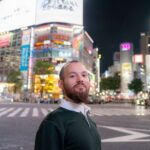
Stop 1: Shibuya Crossing and how to get photos without feeling lost
Shibuya Crossing is one of those places where the background practically does half the work. It’s bold, recognizable, and instantly reads as Tokyo. For your photos, what you want isn’t just the intersection in the frame—it’s you in relation to it. A good photographer times the move so you get the energy of the crossing without everyone else ruining your shot.
This is where having someone guide your posing helps most. Crossing scenes can make you feel like you’re just standing in the way of traffic. With Joe’s guidance, you’re more likely to get natural expressions while still using the crowd energy as context.
You’ll also get more than one look. In a one-hour session, the goal is usually variety: shots that feel like a postcard, shots that feel candid, and angles that show the city around you instead of just behind you.
If you’re planning a birthday shoot or an anniversary set, this is a strong foundation stop because it gives you a dramatic Tokyo setting right away—then the rest of the walk can become more personal and atmospheric.


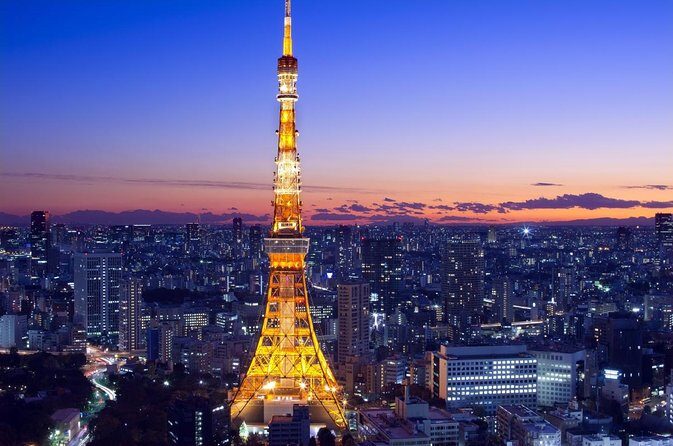
Stop 2: Tokyo Tower for skyline frames and classic “I’m here” shots
Tokyo Tower brings a different kind of background than Shibuya. Shibuya gives you street energy. Tokyo Tower gives you a landmark anchor—something you can build a whole set around.
In practice, what you’ll be looking for is framing: how to place the tower behind you while keeping your face and body the focal point. Your photographer will guide you to angles where the tower shape doesn’t get chopped off and where the background doesn’t overpower you.
This stop is also good if you want photos that work both ways: some that look great on social media and some that feel like travel documentation. Even if you’re not a “landmark person,” Tokyo Tower photos tend to read instantly, especially when the light is right.
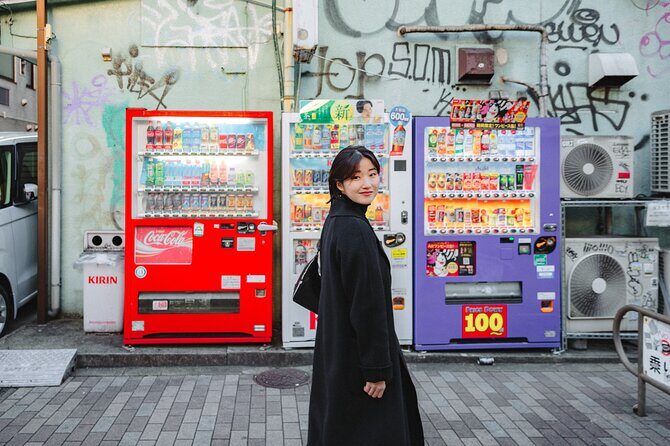
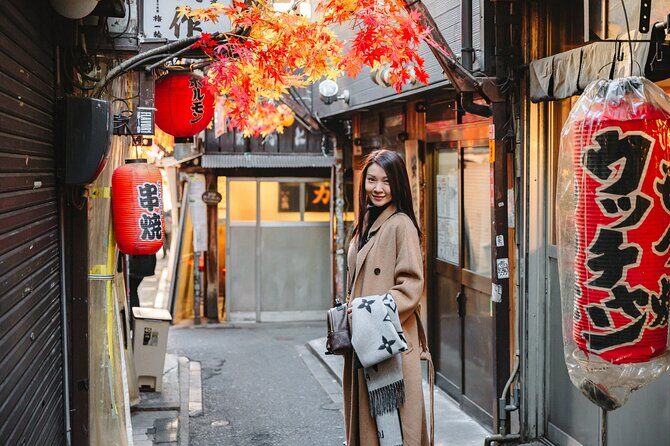
Stop 3: Shinjuku Golden Gai for mood shots with character
Golden Gai is where Tokyo shifts gears. It’s smaller-scale and more textured—narrow lanes, alley character, and a vibe that feels like you found something specific rather than just standing in a famous spot.
For photos, it’s all about storytelling. You don’t need big skyline views here. You need strong composition and clean framing so your photos feel intentional. That’s exactly the kind of area where a photographer’s eye can save you. If you try to do it alone, you’ll often end up with random angles. With guidance, you get a set that looks like you planned it.
One nice detail from past sessions: the photographer has shown flexibility when weather turns. If you’re hoping for Golden Gai mood shots and rain shows up, he’s been the type to adjust timing to keep the shoot moving.
How the photographer works: posing help, candid timing, and your photo style
The experience is built around motion and comfort. You’ll walk with a professional photographer who captures natural moments while also helping you pose. That combo matters because it prevents the two common problems of travel photography:
1) stiff posing that feels fake, and
2) too much candid wandering with no direction, which can leave you disappointed in the final set.
In multiple sessions, people have mentioned how Joe actively helps with posing so it doesn’t feel awkward. If you’re worried you’ll freeze in front of a camera, this is one of the best signs the service is a good fit. You’re not being left to figure it out on your own.
You’re also told what happens afterward, which reduces stress. You’ll receive all the originals (around 300–400) about 2 days after the shoot. Then you’ll pick 20 photos for retouching. Post-production happens afterward, and you get the retouched set back in about 7 days.
The post-production details are specific. The editing includes light, exposure, angle, cropping, composition, and color-grade work in the photographer’s style. The service explicitly states there’s no body/face retouching. So if you want natural-looking portraits with better lighting and stronger composition, that’s exactly what’s offered.
What to request before your shoot so the photos match your life
This is a personal session, so your prep has a direct impact. Here are smart things to communicate based on how the service is described:
- Share your photo style by referencing @uvegotmoment
- Tell the photographer what you want to photograph: street portraits, landmark shots, anniversary moments, birthday vibes
- Suggest any spots you really care about (including Asakusa if you’re into that kind of atmosphere)
- Confirm which areas are realistic for your Tokyo plan since the session stays in the main Tokyo city area
If you’re traveling as a couple or family, bring simple priorities: one set for the two of you, a few family-style frames, and then leave space for candid walking photos. With only about an hour, you want the session to feel like it includes what you want, not everything that happens along the way.
Practical tips for getting the most from your one-hour session
One hour goes fast. The best way to make it work is to show up with less friction and more intention.
Wear comfortable shoes and breathable layers. Tokyo weather can change quickly, and comfort helps you relax in photos. In at least one past session, Joe even offered practical help like water and tissue when someone was hot and sweating—proof that comfort support can be part of the experience.
Bring a clear idea of what you want your photos to feel like. If you want street-style Tokyo, say so. If you want classic landmark framing, say so. If you want both, say that too.
Finally, pick your retouched photos carefully. Because you choose the final 20, you’ll get the strongest results when you select images that already have good composition. The retouching then acts like final seasoning: better light and color, tighter framing.
Who should book this Tokyo personal photographer session?
This is a great fit if you want:
- Private attention for solo portraits, couples, and families
- A fast way to get a lot of usable photos without doing the guessing yourself
- Landmark plus street variety in a single hour, centered on Shibuya and key areas like Tokyo Tower and Shinjuku Golden Gai
- Editing that improves photos without changing your look through body/face retouching
It might not be the best fit if:
- You need wheelchair accessibility (the session is not wheelchair accessible)
- You want an all-day sightseeing itinerary beyond Tokyo’s main city area
- You only want a couple of photos and don’t care about volume or selection
Also, plan ahead. The experience is commonly booked about 26 days in advance, so if you have specific dates in mind, don’t wait until the last minute.
Should you book this? My straight advice
If you want Tokyo photos that feel real, not awkward, and you like the idea of leaving with a full set—this is a strong choice. The best part is the combination of guided shooting and a clear delivery plan: originals in 2 days, then your chosen retouched photos within about a week.
Book it if:
- you care about the city looking right behind you (Shibuya, Tokyo Tower, Golden Gai),
- you want a private shoot,
- and you’re happy to pick 20 photos for the final polish.
Skip it if:
- you need wheelchair access,
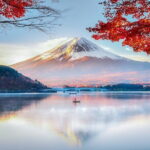
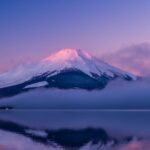
- you want outside-Tokyo regions like Fuji or Kamakura,
- or you’re only looking for a quick selfie and nothing else.
FAQ
How long is the Tokyo photo session?
It’s listed as about 1 hour.
What photos do I receive, and when?
You’ll get around 300–400 original photos within about 2 days, then 20 retouched photos after post-production in about 7 days.
Can I choose which photos get retouched?
Yes. You select the 20 photos you want fully retouched.
Does the retouching change faces or bodies?
The post-production includes light, exposure, angle, cropping, composition, and color-grade editing. It specifically says there is no body/face retouching.
Which areas of Tokyo can we photograph?
This session is limited to main Tokyo city area. It lists recommended areas like Shibuya, Shinjuku, Tokyo Tower, and Asakusa, and notes that places outside Tokyo city area (like Fuji, Kamakura, and Yokohama) are not available.
What if weather is poor?
The experience requires good weather. If it’s canceled due to poor weather, you’ll be offered a different date or a full refund.