
Reviewed · FUJIKAWAGUCHIKO TOURS
Fuji Photo Tour
Want your Mt. Fuji photos to look intentional?
This private Fuji Photo Tour takes you around Fujikawaguchiko at the foot of Mt. Fuji with a guide who helps you turn good views into strong shots, including both photo and video. I like that it is not just sightseeing: you get time at the best angles and a real plan for where to stand and how to frame the mountain.
Two things I especially like. First, you get photo and video data included, so you spend less time guessing and more time shooting. Second, the route stacks classic Fuji icons with quieter places on the lakeside, so you are not stuck only doing the crowded, postcard version.
One thing to consider: this experience runs only in good weather. If the forecast is socked in, the schedule can change via a different date (or a full refund), so plan with flexibility.
In This Review
- Key things that make this Fuji tour worth your time
- Mt. Fuji photos: what this tour does better than a standard drive
- Meet your guides: simple English, real professionalism
- The heart of the route: Lake Kawaguchiko (2 hours to get it right)
- Chureito Pagoda: stairs, a gentle slope, and that classic Fuji frame
- Oshino Hakkai: ponds, clear water, and Fuji in the background
- Haha no Shirataki Falls: Mother’s White Waterfall for a quieter shot
- Oishi Park: flower season colors with a Fuji backdrop
- Aokigahara Forest: lava formations and a moody Fuji Jukai vibe
- Saiko and Lake Shoji: quieter lakes for when you want fewer crowds
- Price and value: what $423.49 per group gets you
- Timing, weather, and how to keep your day from unraveling
- Practical tips that will make your photos better fast
- Should you book this Fuji photo tour?
- FAQ
- How long is the Fuji Photo Tour?
- How big is the group?
- Do you offer pickup from your meeting point?
- What’s included in the tour price?
- Is lunch included?
- What happens if weather is poor?
Key things that make this Fuji tour worth your time
- A private group up to 8 with one team handling the day, so you keep a steady pace.
- Photo and video data included, which is a big value add versus a standard sightseeing drive.
- Lots of real shooting time, from 2 hours at Lake Kawaguchiko to shorter, targeted stops.
- Chureito Pagoda viewpoint effort, with stairs and a gentle slope to earn the composition.
- Seasonal Fuji possibilities, from flower scenes like lavender season to quieter lakes for changing views.
Mt. Fuji photos: what this tour does better than a standard drive
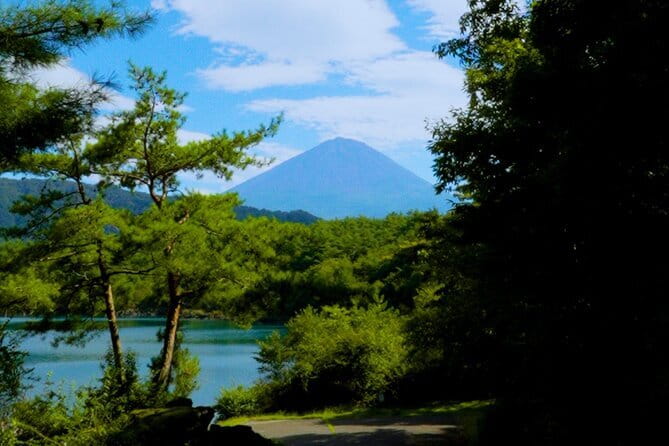
Mt. Fuji looks simple on a postcard. In real life, it is fussy. Light changes fast, cloud cover can flip the whole day, and the best angles often mean moving a bit on foot.
This tour is designed for that reality. You are not just dropped off at famous spots and left to figure it out. You are guided to scenic areas in Fujikawaguchiko with an eye for the framing people want: mountain-in-view compositions, reflections on the water, and those layered foreground-to-background shots that make Fuji feel deep, not flat.
The private format matters too. With a group capped at 8, you can actually pause when you want a second take. You can adjust if the sky cooperates for 15 minutes and then disappears. That flexibility is hard to get with larger tours where everyone marches like a herd.
Meet your guides: simple English, real professionalism
The guide team on this experience includes Ryo and Ericko. In the field, what you’ll feel is competence plus kindness. The setup is practical: the staff may not be fluent in English, but they make it work with simple phrases and translation tools. That is important because good photography help depends on clear instructions in the moment, not a long lecture.
From the way the tour is described, the guidance is built for clarity and action. You’ll be able to communicate basic goals quickly (like where you want Mt. Fuji in the frame, or when you want to reposition for the best angle). And because this is a photo-and-video focus, the team is likely thinking in terms of what the camera sees, not just what the tourist sees.
Also, the day is set up to handle imperfect conditions. One of the biggest strengths is that when the sky is unpredictable, the team tries to make the most of the window you do get.
The heart of the route: Lake Kawaguchiko (2 hours to get it right)
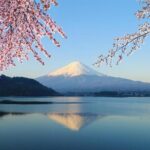
Your first major stop is Lake Kawaguchiko, and the timing is generous: about 2 hours. This is smart because Lake Kawaguchiko is one of the best places to make Mt. Fuji feel present instead of distant.
On the water, you can play with foreground details and mountain placement. Even when you do not have a perfectly clear silhouette, you can still shoot atmosphere: soft clouds, layered hills, and water texture that turns “cloudy day” into something visually interesting.
What I’d do with this time: start wide to establish the mountain, then move to more specific angles for reflections or shoreline elements. If the cloud cover opens briefly, you want time to react, not just take one quick shot and hope for the best. With two hours here, you have that cushion.
One practical note: this is a lake stop with longer holding time, so wear shoes you can walk comfortably in. You’ll be outside most of the session, and Fuji days have a way of changing your plan mid-shoot.
Chureito Pagoda: stairs, a gentle slope, and that classic Fuji frame
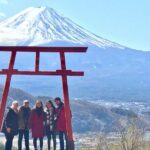
Next comes Chureito Pagoda, a short stop (about 30 minutes) but with a big payoff if Mt. Fuji shows up in the right position.
The key detail is that reaching the viewpoint takes effort: you climb stairs and walk along a gentle slope. That means your time goes fast. If you only have a small number of chances to shoot (which you usually do), you’ll want to get your composition settled early.
Why this stop is worth including: Chureito is one of the best-known “Fuji with a human-made anchor” scenes. When you get the mountain aligned with the pagoda, it looks like a carefully designed poster. When you do not get a clean view, you can still capture a mood shot, especially if you frame around the pagoda structure and let the mountain’s presence be implied by cloud shapes.
Bring a plan for your own comfort. Even if you are fit, stairs add up when you are also managing a camera, phone, or both. Pack for short bursts of effort, not one long stroll.
Oshino Hakkai: ponds, clear water, and Fuji in the background
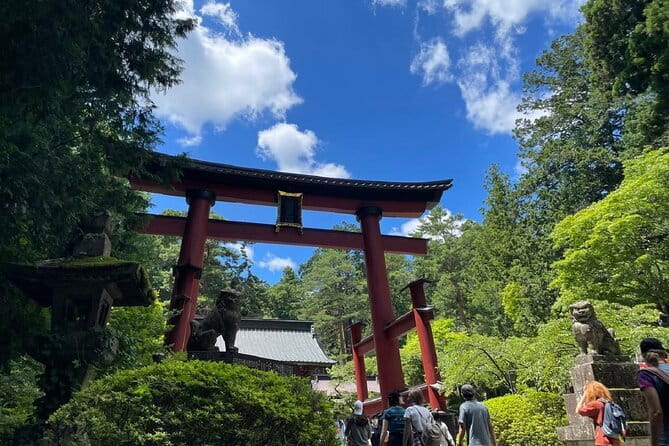
Then you move to Oshino Hakkai for about 30 minutes. This area is known for tranquil ponds and clear spring water with Mt. Fuji as a backdrop.
This stop is a nice change of pace after the pagoda viewpoint. The photography angle here is all about calm and reflections. Water can help you capture Fuji in a less obvious, more atmospheric way than direct skyline framing.
If the day is partly cloudy, Oshino Hakkai often still works because you can shoot water texture and ripples, plus the natural scene around the ponds. You can also aim for a “foreground story” shot: spring water details up close, with Fuji sitting higher in the background.
A good strategy in 30 minutes is to do two passes. First pass: wide shots to locate the best sightlines. Second pass: tighten your framing for water detail and the Fuji relationship.
Haha no Shirataki Falls: Mother’s White Waterfall for a quieter shot
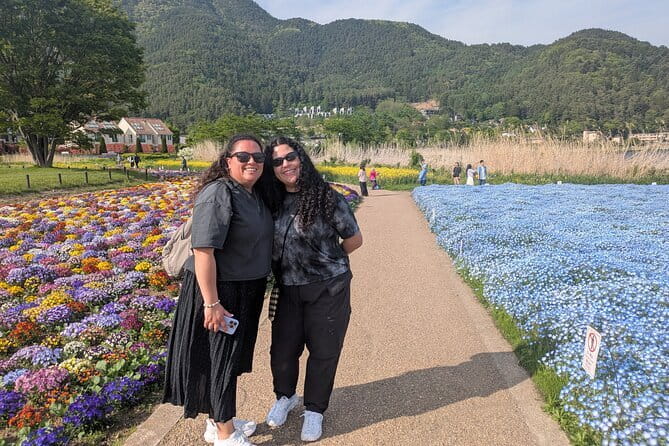
Stop 4 is Haha no Shirataki (Mother’s White Waterfall), about 30 minutes. The tour describes it as hidden in Fujikawaguchiko Town and focused on a serene nature experience, which is exactly what you want when your itinerary has a lot of “big wow” icons.
For photography, waterfalls can go two ways: either you chase long-exposure silky water, or you shoot faster for crisp motion and surrounding greenery cues. Since the tour is weather-dependent overall, I’d use this time to keep your settings flexible. If you have a calmer sky, you’ll often get a nicer look at the waterfall and its surroundings.
Also, this stop gives you a break from the big “stand in one place and shoot the mountain” approach. It’s more about flowing nature and finding viewpoints where Fuji is not necessarily the only star. That variety is what makes the day’s final photo set feel real, not repetitive.
Oishi Park: flower season colors with a Fuji backdrop
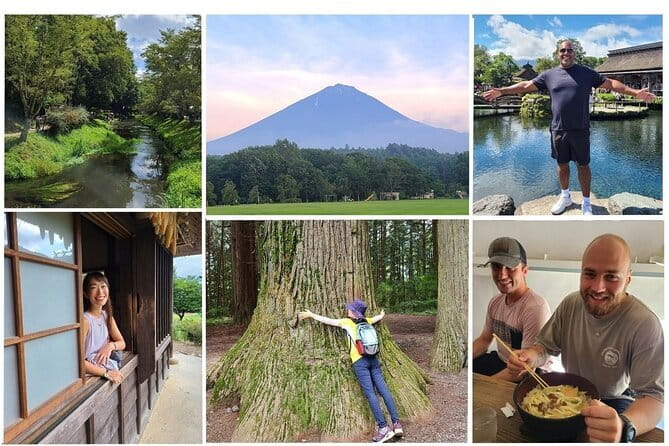
Next is Oishi Park for about 20 minutes. It is famous for Mt. Fuji views, and the descriptions highlight colorful flowers year-round, plus lavender season when you can see a purple “carpet” effect.
In plain terms: this is your color stop. If the weather cooperates, it can produce some of the most striking “Fuji as a part of the season” images. If you end up with hazier skies, you can still shoot color and composition, because flower beds can carry a scene even when Mt. Fuji is softer or partially obscured.
In a 20-minute stop, you want to avoid wandering too much. Pick a direction, find a Fuji sightline, and shoot a range: a wider composition to show the flowers with the mountain, then tighter shots for texture and petals. The short timing makes this a practical stop: you’ll either get it right quickly or you’ll feel rushed.
Aokigahara Forest: lava formations and a moody Fuji Jukai vibe
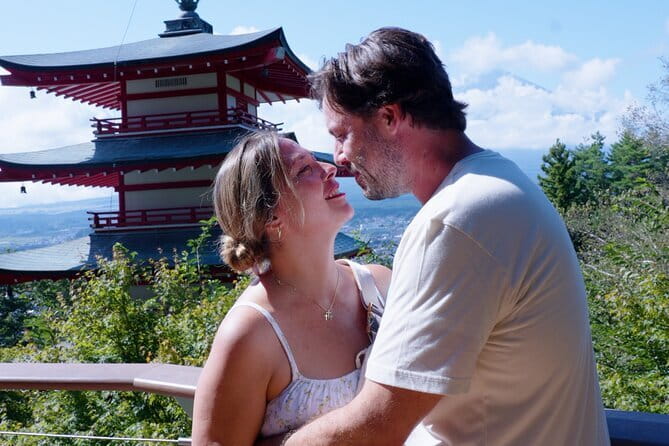
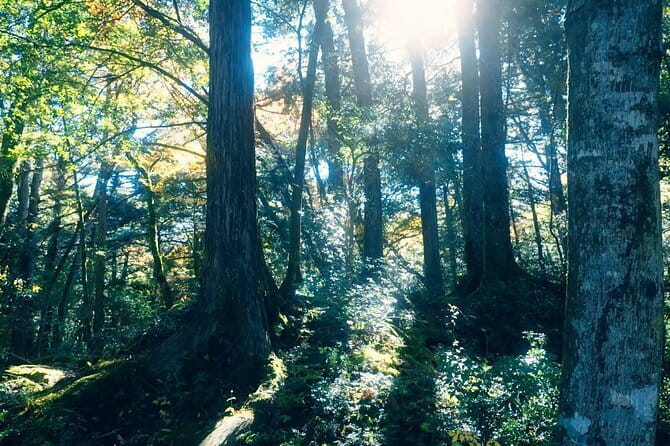
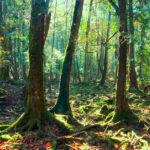
Stop 6 is Aokigahara Forest, about 20 minutes, described as Fuji Jukai at the foot of Mt. Fuji. This is different from the lakes and classic photo icons. The tour notes unique lava formations and a tranquil nature feel, which can add texture and mood to your Fuji portfolio.
This is a good “break from postcard Fuji” stop. The forest can give you depth shots: darker foregrounds with light filtering through, rough texture from the terrain, and a sense of distance toward where Mt. Fuji sits beyond.
The main practical consideration is that forests often mean uneven ground, more movement, and changes in lighting. Keep your camera settings nimble if you are shooting both photo and video. If you stick to a simple routine (wide exposure first, then adjust as the light changes), you’ll be happier than chasing perfect technical settings in every frame.
Saiko and Lake Shoji: quieter lakes for when you want fewer crowds
The last two locations are Saiko (Lake Sai) for about 30 minutes, then Lake Shoji for about 20 minutes.
Both are described as calmer, with less bustle than the more famous areas. Saiko is positioned as a hidden photo spot away from crowds, with ever-changing seasonal landscapes along the shore. Lake Shoji is also described as slightly removed from the busier tourist spots and ideal for peaceful shots.
These two stops are valuable because they help your day feel balanced. After chasing icons, you end with breathing room. You can also slow down and concentrate on reflections and shoreline lines, where Fuji presence may be stronger or softer depending on the weather window.
What I like about this ending: if the sky clears later than expected, you still have time for meaningful lake shots. If Mt. Fuji is only partly visible, these lakes can still deliver moody, believable images that look like a real day, not only a perfect-day poster.
Price and value: what $423.49 per group gets you
The tour costs $423.49 per group (up to 8) for about 5 hours. On paper, that can sound like a lot until you look at what’s included.
Here’s the value logic: you’re paying for private transportation in an air-conditioned vehicle, plus a focused photo and video experience, plus photo/video data. You’re also getting tickets for several attractions. And many of the listed stops note admission free, which lowers your out-of-pocket costs once you’re there.
So the real question becomes: are you buying convenience and coaching, or just a ride? This tour is built to be the first. Even if you are comfortable exploring on your own, the structured route plus photo/video guidance can save you time and prevent the classic problem: arriving at a spot without the angle that makes it work.
If you’re traveling solo, the “up to 8 group” model may look less appealing. But if you’re flexible and open to sharing a private experience with a small group, it can still feel like a smart deal compared with hiring a driver plus paying for entrance fees plus trying to coordinate photo spots yourself.
Timing, weather, and how to keep your day from unraveling
This experience operates only in good weather. That matters because Mt. Fuji is famously unpredictable day to day, and it also matters because the tour is built around specific viewpoints. If clouds roll in thick, you can lose the mountain’s crisp presence.
The good part is that the tour offers either a different date or a full refund if it’s canceled for poor weather. And because the route includes multiple angles across lakes and viewpoints, you have chances to find something worth shooting even when conditions are mixed.
Plan like this:
- Keep your schedule flexible on the day you book.
- Bring layers. Fuji foothills can shift from cool to mild depending on wind and cloud cover.
- Expect your best shots might be clustered in shorter time windows, not spread evenly all day.
This is also why the private format helps. You are not stuck waiting behind a big group when the sky opens.
Practical tips that will make your photos better fast
Because this is a photo-and-video tour, small choices matter.
- Wear shoes that handle stairs and slopes. Chureito requires climbing and a gentle slope to reach the viewpoint.
- Charge everything. You’ll be shooting for around 5 hours with multiple location changes.
- Think in sequences, not single shots. At lakes, shoot wide first, then tighten the frame.
- Keep your expectations realistic. The tour can be magical on a clear day, but it is also designed to handle imperfect weather.
If you like to review footage right away, the included photo/video data makes it easier. Even when you think you missed a shot, you may still end up with usable, well-framed content from the guidance side of the day.
Should you book this Fuji photo tour?
I think this Mount Fuji Foothill Photo Experience is a strong choice if you want Mt. Fuji photos without the stress of building a perfect route and chasing the best angles on your own. It’s especially appealing if you value photo and video support, want private transportation, and like the idea of starting with Lake Kawaguchiko, then hitting icons like Chureito Pagoda and Oshino Hakkai, and ending at quieter lakes like Saiko and Lake Shoji.
Book it if:
- you want a structured day designed for cameras, not just bus rides
- you are okay with weather playing a major role
- you’d enjoy a guide team like Ryo and Ericko who keep things moving with simple communication and translation tools
Skip it if:
- you need guaranteed Mt. Fuji visibility at all times, no matter the forecast
- you prefer fully independent travel with no guidance or included data support
If you go in with flexibility and show up ready to shoot, this tour has the ingredients for a Fuji day you’ll actually enjoy replaying.
FAQ
How long is the Fuji Photo Tour?
It runs for about 5 hours.
How big is the group?
It is a private tour, with a group size of up to 8 people.
Do you offer pickup from your meeting point?
Pickup is offered, and the tour starts at Forest Mall Fujikawaguchiko (8017-1 Kodachi, Fujikawaguchiko, Minamitsuru District, Yamanashi 401-0302, Japan) and ends back at the meeting point.
What’s included in the tour price?
The tour includes air-conditioned vehicle transport, private transportation, photo and video data, and tickets for several attractions. It also uses a mobile ticket.
Is lunch included?
No, lunch is not included.
What happens if weather is poor?
This experience operates only in good weather. If it’s canceled due to poor weather, you’ll be offered a different date or a full refund.
More Tour Reviews in Fujikawaguchiko machi

Fujikawaguchiko Tours, compared.
 ★ 4.5Mt.Fuji & Lake Kawaguchiko 1-Day Bus Tour w/Optional LunchFrom $77839 reviews
 ★ 4.5Mt. Fuji 5th Station, Kawaguchiko Tour w/ Cable CarFrom $74570 reviews
 ★ 4.5Discover Mt. Fuji 5th Station & Kawaguchiko Sightseeing Day TourFrom $99542 reviews
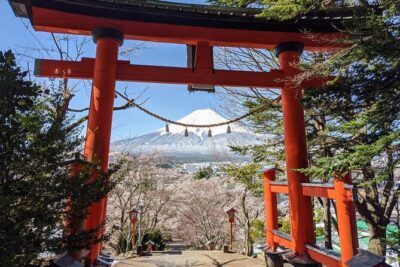 ★ 5.0Private Car Tour to Mt. Fuji Lake Kawaguchiko or HakoneFrom $1,286360 reviews
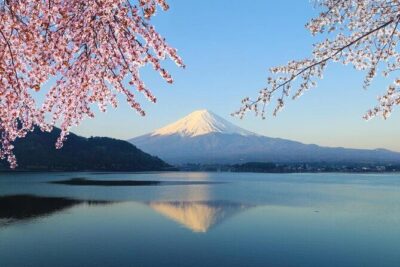 ★ 5.0Mt Fuji Area Private Guided Tours in English-Nature up close, quiet, personalFrom $320288 reviews
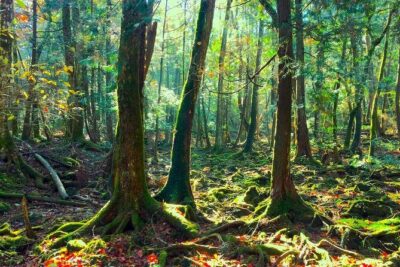 ★ 5.0Explore Mt. Fuji Ice Cave in Aokigahara ForestFrom $53243 reviews
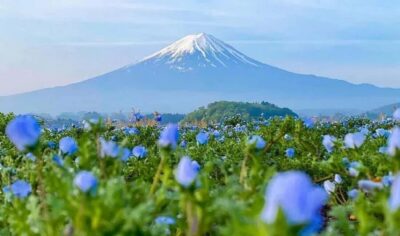 ★ 4.6Mt. Fuji & Lake Kawaguchiko Ropeway Panorama Full-Day TourFrom $54236 reviews
 ★ 5.0Private guided hidden gems tour by local English speaking driverFrom $72142 reviews
Browse the lists this tour appears in