
Reviewed · YOKOHAMA TOURS
Yokohama Full Day Walking Tour with an Expert Local
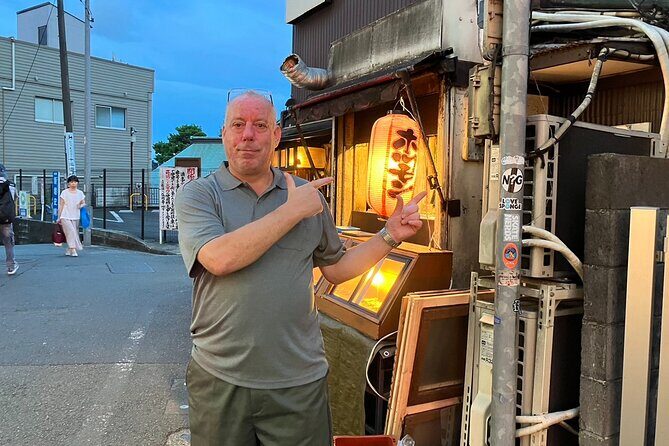
Yokohama looks different on foot. This full-day walk is built around a local guide and bespoke routing, so you get the sights and the small, useful context that makes each neighborhood click.
I love the mix of big-name stops and food-first moments, from the Red Brick Warehouse to Noge Daidogei. I also like that the route leaves room for bay scenery at Yamashita Park and for skyline options later in the day.
One consideration: Sankeien Gardens and the Landmark Tower observation deck aren’t included, so you’ll want to budget a little extra if you plan to do both.
In This Review
- Key highlights to know before you go
- Why this Yokohama walking tour feels practical, not just scenic
- The guide makes the whole day easier (and more fun)
- Red Brick Warehouse: start where Yokohama turned outward
- Yamashita Park: the bay break that resets your eyes
- Yokohama Chinatown: plan to move and snack
- Sankeien Gardens: a peaceful reset (with extra ticket planning)
- Noge Daidogei: where you actually eat like you mean it
- Sakuragicho Tourist Information Center: quick help for smoother navigation
- Landmark Tower: skyline views, with weather doing the final edit
- Bay Quarter Yokohama: retail time plus a water-edge view
- British House Yokohama: foreign consulate origins near the cemetery site
- How the 8 hours work in real life (walking, transit, and timing)
- Price and value: is $118.37 per person a fair deal?
- Who this tour suits best
- Should you book this Yokohama walking tour?
- FAQ
- How long is the Yokohama full day walking tour?
- What does the tour cost?
- Is this a private tour?
- Do I need to pay for tickets during the day?
- What happens at the end of the tour?
- Can I cancel for a full refund?
Key highlights to know before you go
- Private, local-only group for your party, not a shared crowd
- Expert English support (Jack is cited for excellent, easily understandable English)
- Food stops built in, especially the Noge Daidogei area
- Classic Yokohama landmarks plus calmer breaks like Sankeien Gardens
- Big-view options at Landmark Tower and Bay Quarter (including weather-dependent views)
- Mobile ticket and included transit time between stops
Why this Yokohama walking tour feels practical, not just scenic
This is the kind of full day that helps you understand Yokohama instead of just checking boxes. You’ll move through the places that define the city’s look—port warehouses, foreign-era sites, Chukagai energy, and the bay skyline—while the guide ties it together in plain talk.
The value here is in the pacing. An 8-hour day can turn into a blur if you’re wandering alone. With transfer time included between stops, you spend more of the day actually seeing and less of it figuring out where to go next.
And because the guides live in Yokohama, the day has that lived-in logic. It’s not only about famous corners; it’s also about where locals tend to eat and how neighborhoods connect.
The guide makes the whole day easier (and more fun)
You’ll feel it the moment you meet your local guide. This isn’t a script-reading tour. It’s designed around personal preferences, which matters a lot when a city has multiple “right” ways to experience it.
One guide named Jack is specifically called out for excellent, easily understandable English. He also spent childhood years in the US, which often helps with the kind of explanations that click fast for English speakers.
If you’re traveling with someone who needs patience and a slower rhythm, that’s also part of what you’re buying. The experience you read about included a guide who handled a guest with learning issues with extra time and calm pacing—exactly what you want from an expert local when the day needs flexibility.
Red Brick Warehouse: start where Yokohama turned outward
Your day begins at the Yokohama Red Brick Warehouse, a major port-era landmark. The key idea here is how Japan’s opening to the outside world played out through trade. This warehouse is described as the first bonded warehouse that helped facilitate trade after Japan’s long period of self-isolation.
Even if you’re not a history buff, it’s a great warm-up stop because it looks the part: old brick, big port scale, and plenty of space to orient yourself. You get about 30 minutes—enough time to take photos and understand why this place matters without turning it into a museum slog.
Tip: for good pacing, use these first minutes to decide what you want most from the day—views, shopping, or food. The guide can steer your later stops accordingly.
Yamashita Park: the bay break that resets your eyes
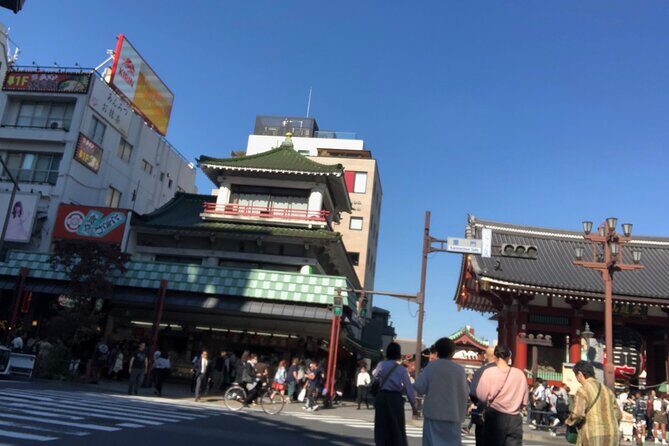
Next is Yamashita Park, a bayside green space with well-kept grounds and easy walking. This stop is valuable because it gives your brain a breather after the warehouse vibe. You also start seeing Yokohama’s true setting: the water, the open lines of sight, and the way the city hugs the harbor.
You’ll get about 30 minutes here, which is ideal. Long enough for a stroll and a few photos, short enough that you don’t lose momentum before the busier neighborhoods.
If it’s bright out, this is a good spot to test how you’re feeling physically. The rest of the day mixes longer walks with optional indoor/outdoor viewpoints.
Yokohama Chinatown: plan to move and snack
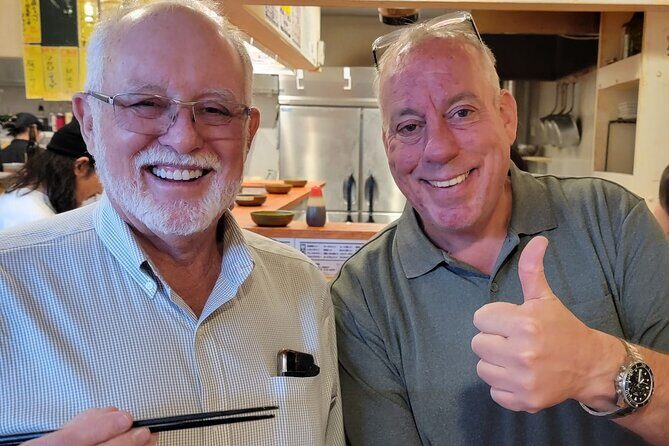
Then you step into Yokohama Chinatown, one of the city’s best-known areas. The experience is described as a full-on sensory stop—think food smells, bright storefront energy, and plenty of small side streets.
You’ll have about 45 minutes. That’s the right amount of time for walking, people-watching, and grabbing a small bite without feeling like you need to do everything on one street.
A smart way to handle Chinatown on a time-limited tour: pick one or two things you genuinely want (a snack, a drink, maybe a dessert) and let the rest be inspiration. The guide can often point you toward options that feel local rather than generic.
Sankeien Gardens: a peaceful reset (with extra ticket planning)
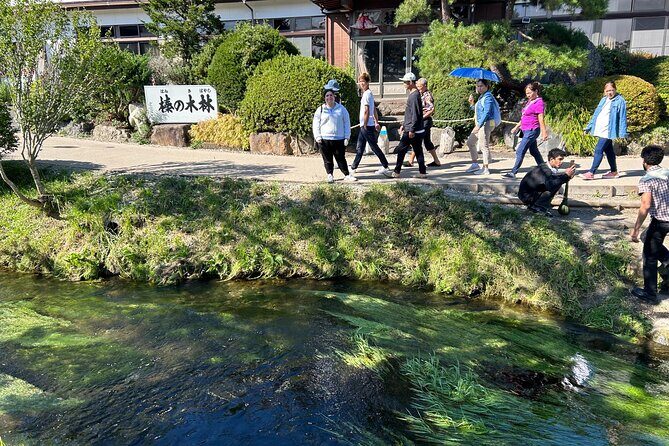
After the neighborhood energy, you’ll head to Sankeien Gardens. This stop is about calm. It’s described as serene and beautiful, and in a full-day walking schedule like this, it works like a reset button.
You’ll spend about 1 hour here, but admission isn’t included. That’s not a deal-breaker, just something to plan for. If you enjoy garden design, seasonal ponds, and quiet walking spaces, it’s worth budgeting for.
Practical note: gardens are often the best place to slow down. Use it as your midday pacing check. If you’re tired, you can still enjoy it without rushing every corner, because the whole point is to take your time.
Noge Daidogei: where you actually eat like you mean it
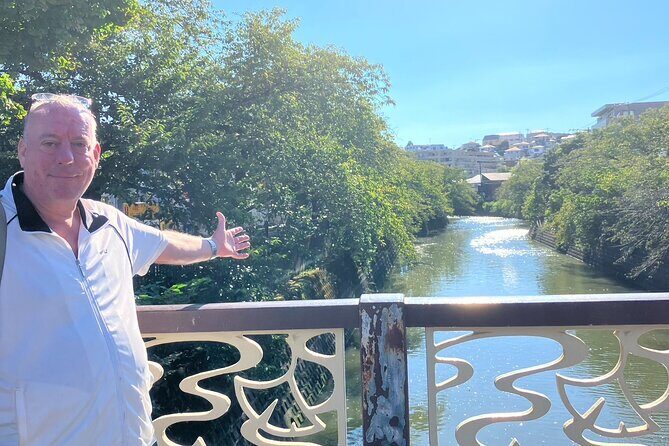
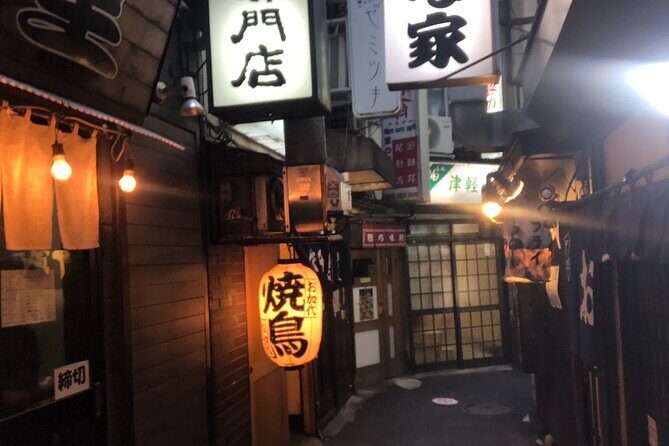
Now comes one of the most important parts of the day: Noge Daidogei. This is described as Yokohama’s best kept secret, packed with local eateries and bars. The big value of this stop is that it moves the tour from sightseeing into everyday life.
You’ll have about 45 minutes here, with admission listed as free. Translation: you can use the time to do what you came for—try food, pop into a place for a drink, and experience the local rhythm.
Even if you’re not a big “bar-hop” person, Noge Daidogei is still a strong choice because it gives you a sense of where people spend casual evenings. It’s also a good chance to ask your guide for a recommendation that fits your tastes and comfort level.
Tip: keep your expectations realistic. This is a food neighborhood stop, not a formal sit-down restaurant tour. If you want one main meal, you might use the guide to time it so you don’t end up too stuffed before later viewpoints.
Sakuragicho Tourist Information Center: quick help for smoother navigation
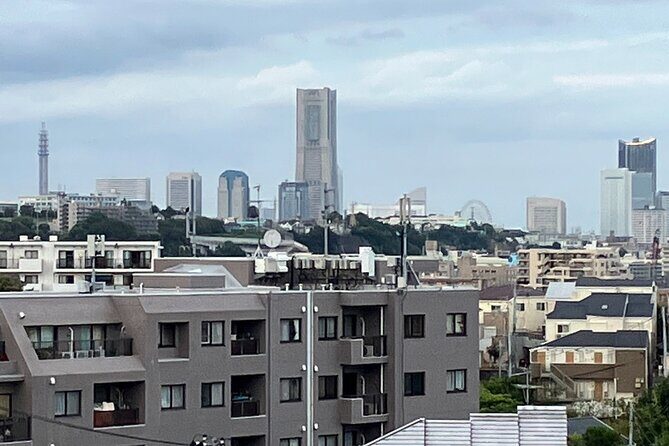
There’s an optional stop at the Sakuragicho Tourist Information Center. You’ll have about 25 minutes, and admission is free.
Why this is useful: if you want to keep exploring after the tour, this kind of place can help you confirm transit routes and decide what to do next. It’s also handy when you want to shop or plan an extra museum visit and you’d rather get the details from someone who deals with visitors daily.
If you prefer more walking and less “information time,” you can treat it as flexible. The tour is designed to adapt.
Landmark Tower: skyline views, with weather doing the final edit
Next is Landmark Tower. You can go to various floors, or focus on the observation deck for wide views.
The standout detail is the potential sightline: on clear conditions, you can see Tokyo, Yokohama, the Miura Peninsula, and Mount Fuji. The catch is the phrase weather permitting—because that part is out of anyone’s control.
This stop is about 45 minutes, and admission isn’t included. If you’re deciding whether to spend money here, think about your priorities. If you love viewpoints and want a strong finish with a skyline snapshot, it’s a good use of time. If cloudy skies are likely or you’d rather prioritize food and shopping, you could consider skipping the observation deck and using the tower area for photos instead.
Bay Quarter Yokohama: retail time plus a water-edge view
After the height of Landmark Tower, you’ll go to Bay Quarter Yokohama. This is described as a retail paradise with great views of the park and Yokohama Bay.
You’ll spend about 1 hour, and admission is free. The practical benefit is that it gives you a comfortable stretch of time where you can browse, snack, and take in harbor views without feeling like you’re rushing.
There’s also an optional boat-tour angle listed here. Even if you don’t do it, just being in the bay-adjacent space helps you “feel” the port city. Yokohama makes more sense once you’ve seen it from multiple heights and distances.
British House Yokohama: foreign consulate origins near the cemetery site
The last major stop is British House Yokohama, an important site tied to the first foreign consulates in Japan after the Meiji Restoration. It’s also described as being close to an optional first foreigners cemetery area.
This part of the day adds perspective. You’ve seen Yokohama as a port and a trading city. Now you see one way the foreign presence became anchored into the city’s official landscape.
You’ll have about 45 minutes. It’s a good finale because it’s focused and informative, without demanding a full museum commitment.
How the 8 hours work in real life (walking, transit, and timing)
A full-day walking tour can feel heavy if it’s nonstop. Here, the schedule is built with transfer time included, so you’re not stuck doing long jumps between neighborhoods on your own.
That matters for two reasons:
- You keep energy for the main stops that need your attention.
- You reduce decision fatigue. You don’t have to constantly check trains, walk directions, or ticket rules.
Because the tour is private, your pace can also feel more human. If your group wants extra photo time at a viewpoint or wants to linger over snacks in Noge, you’re more likely to get that adjustment than on a fixed-group route.
What to wear: comfortable walking shoes. Even with transfers, you’re moving through multiple districts in one day.
Price and value: is $118.37 per person a fair deal?
At $118.37 per person for an 8-hour experience, this tour sits in the midrange for a guided full day. The main question is what’s included and what isn’t.
What you’re paying for:
- A local, resident-style guide who designs the day around your interests
- Transfers between stops during the total duration
- Entry is listed as free for many major stops (with notable exceptions)
- A private format for your group and a mobile ticket
What costs extra:
- Sankeien Gardens admission isn’t included
- Landmark Tower observation deck isn’t included
So the value depends on your choices. If you plan to do both paid highlights, the effective cost rises a bit, but you also get two of the most visually rewarding stops: gardens for calm and a tower for big views. If you’d skip one, you can keep the day closer to the base price.
Also: group discounts are mentioned. If you’re traveling with friends or family, ask how that applies at booking so you can judge the best value for your group size.
Who this tour suits best
This one works especially well if you want:
- A structured day without losing the feel of exploring local neighborhoods
- Easy English support and clear explanations
- A blend of major sights plus authentic food-area time
- Flexibility for optional viewpoint and info-center moments
It also appears friendly for different needs. Service animals are allowed, and the experience described included a guide who handled learning issues with patience and time.
If you already know Yokohama well and just want to “hit the highlights” at your own pace, you might feel this is more guidance than you need. But if you want a day that strings the city together into something you can remember, it’s a strong fit.
Should you book this Yokohama walking tour?
If your goal is a full Yokohama day that mixes port landmarks, Chinatown energy, local food time, and bay views, I’d book it. The private format plus local guidance makes it easier to enjoy the day without getting lost in logistics.
I’d think twice only if you’re trying to keep costs ultra-tight and you plan to skip paid stops like Sankeien Gardens and the Landmark Tower deck. In that case, you might still enjoy the free parts, but you’d want to be sure you don’t feel like the paid moments are the point of the day.
FAQ
How long is the Yokohama full day walking tour?
It’s listed as approximately 8 hours.
What does the tour cost?
The price is $118.37 per person.
Is this a private tour?
Yes. It’s a private tour/activity, and only your group participates.
Do I need to pay for tickets during the day?
Some stops are listed as free, while others are not included. Sankeien Gardens is not included, and the Landmark Tower observation deck is also not included.
What happens at the end of the tour?
The activity ends back at the meeting point.
Can I cancel for a full refund?
Free cancellation is available up to 24 hours in advance of the experience start time for a full refund.
More Tours in Yokohama

More Tour Reviews in Yokohama


Next Door in Yokohama
Yokohama Tours, compared.
 ★ 4.9EVO, WRX, Skyline – JDM Night Run to Daikoku Car MeetFrom $125478 reviews
Best Price Daikoku Parking Area JDM Car MeetFrom $76192 reviews
★ 4.9EVO, WRX, Skyline – JDM Night Run to Daikoku Car MeetFrom $125478 reviews
Best Price Daikoku Parking Area JDM Car MeetFrom $76192 reviews
 ★ 4.9Daikoku & Tokyo Private JDM Tour by 700HP R34 GT-RFrom $586101 reviews
 ★ 5.0Tokyo 8hr Private Tour with Licensed Guide from YokohamaFrom $20194 reviews
 ★ 5.0【Tokyo】JDM Daikoku Parking Area & Nissan Facility TourFrom $5587 reviews
 ★ 4.5Narita Airport: One Way Private Transfer to Tokyo|Yokohama HotelsFrom $7769 reviews
 ★ 5.0Shuttle Van Transfer, Yokohama(Port)⇒Tokyo, Narita, Haneda, TDRFrom $12263 reviews
 ★ 5.0R34Skyline Daikoku PA Fast & Furious Private ExperienceFrom $10963 reviews
Browse the lists this tour appears in