
Reviewed · TOKYO
Tokyo: 3-hour Guided E-Bike Tour of the City’s Hidden Gems
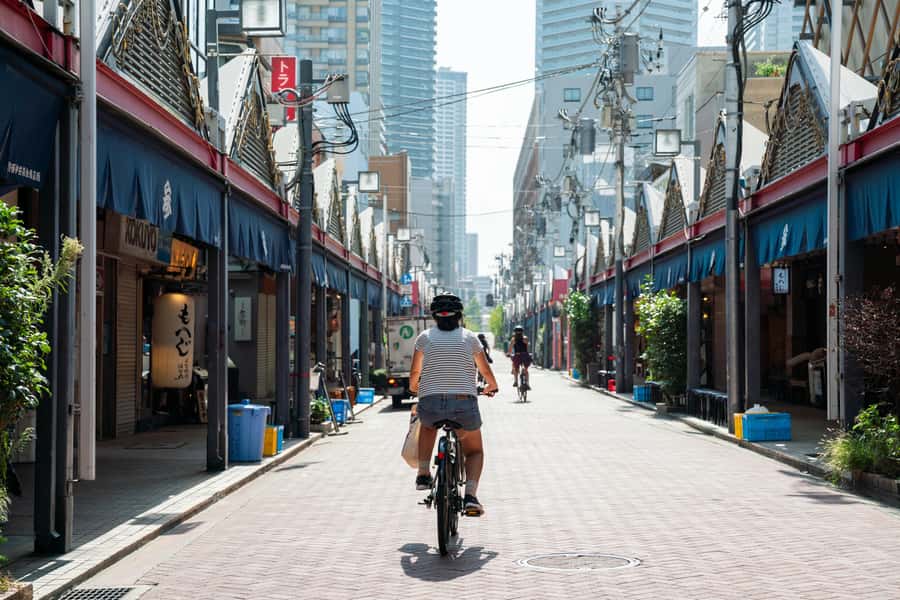
Tokyo looks different at 15 miles per hour.
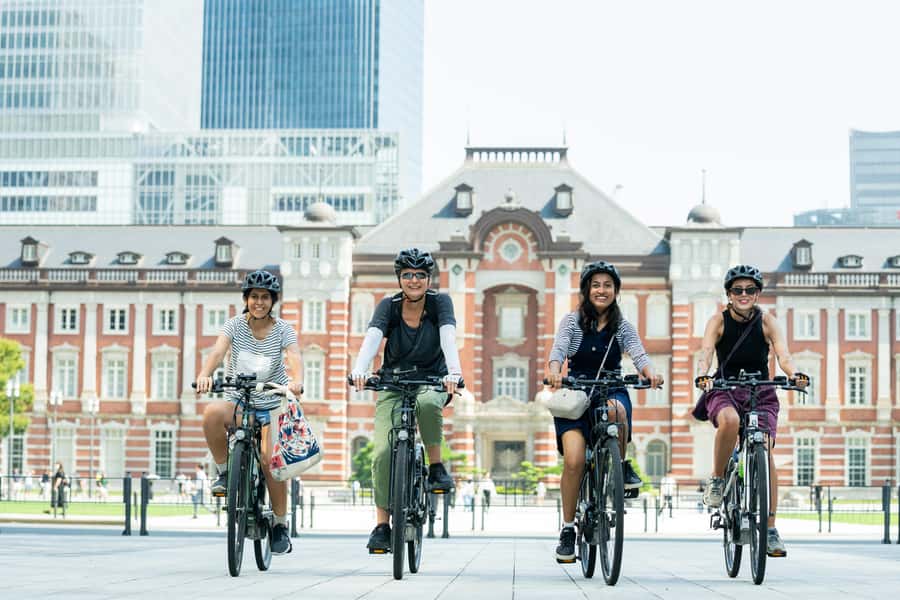
This 3-hour Tokyo e-bike tour lets you glide past Tokyo Station, the Imperial Palace area, and other classic sights, then turn toward calmer neighborhoods where you’d never wander by accident. I love that it combines major landmarks with stops that feel local, and I especially like the English-speaking guide who keeps the ride moving with stories and practical context. One thing to consider: you are in real city traffic at times, and some sections share paths with pedestrians, so you’ll want comfort riding close to others.
The big advantage is the mix of speed and access. A bus gets you the views but not the up-close details, and walking can be slow. With the e-assist, you can cover ground without arriving wrecked, which makes the gardens and shrines on each route feel like actual experiences, not quick photo stops. Also, guides such as Hiro, Shinobu, Miki, Yugo, and Yota show up in the group-led style you’re paying for: calm instructions, safety awareness, and lots of chat while you ride.
In This Review
- Key takeaways for a smoother ride
- Choosing Your Route: City, Tokyo Bay, or Tokyo Tower
- Where the ride starts and how the group works
- E-bike basics: why it feels easy in Tokyo
- Tokyo City Route: Tokyo Station, Nihonbashi, a garden, and a shrine stop
- Tokyo Bay Route: Odaiba, bridges, Gundam, Statue of Liberty, and a sunset rhythm
- Tokyo Tower Route: Zojo-ji, Tokyo Tower photo moment, Atago Shrine, and Hibiya Park
- Guide style: the difference between seeing Tokyo and understanding it
- What’s included: the small stuff that changes the day
- Safety and fitness limits you should not ignore
- Price and value: is $65 worth 3 hours?
- Should you book this Tokyo e-bike tour?
- FAQ
- How long is the Tokyo e-bike tour?
- Where does the tour start and end?
- What’s included in the price?
- Is this tour available in English?
- Which routes are offered?
- Are children allowed?
- What height and weight limits apply?
- Do I need to be an experienced cyclist?
- What happens if it rains?
- Can I store my luggage during the tour?
Key takeaways for a smoother ride
- E-assist makes 3 hours realistic: the bike does the heavy lifting, so you can focus on scenery and conversation.
- Pick the route that matches your mood: City for culture-garden-temple stops, Bay for big skyline views, Tower for classic city-and-temple contrast.
- You’ll roll through real Tokyo: some riding happens on shared footpaths and near moving traffic, so stay alert.
- You get more than a ride: helmet, gloves for winter, snack, and luggage storage are all part of the package.
- Meet early for the briefing: show up about 15 minutes before so your group can get set up and leave on time.
Choosing Your Route: City, Tokyo Bay, or Tokyo Tower
The tour comes in three route options, and choosing right matters because each one has a different feel.
If you want classic central Tokyo plus a garden break, go Tokyo City Route. You’ll pass major landmarks like Tokyo Station and the Imperial Palace area, then swing into stops that feel more peaceful and local, including a Japanese garden visit and a shrine stop.
If your priority is skyline views, choose Tokyo Bay Route. This is the one with the flat, wide-feeling ride around Odaiba and long views across bridges toward the city. It’s also designed for big photo energy, especially when timing lets you catch sunset and night views.
If you want the contrast of old temples and modern skyline, ride Tokyo Tower Route. You’ll start with a temple, circle toward Tokyo Tower (with a photo spot), and weave through shrine-and-park territory near places like Hibiya.
Where the ride starts and how the group works
Your tour starts at a designated meeting point, and you should arrive 15 minutes early for the briefing. The ride ends back at the same meeting point, so plan to keep your day flexible around the exact return time.
The tour runs for about 3 hours, but the end time can slip by roughly 30 minutes due to traffic and routing. The group format also means you can’t join after departure, so arriving late usually means missing the whole thing rather than jumping in partway.
Also note the bike logistics: the tour course must be completed, and the e-bikes may not be dropped off anywhere except the predetermined return point. That keeps the ride organized but it does mean you’re committing to the full loop.
E-bike basics: why it feels easy in Tokyo
The pitch is simple: you ride an e-bike with assist. In practice, this translates into less strain on your legs and fewer moments where you feel like you’re fighting the bike just to keep up in traffic.
Most people find the learning curve short, but you still want to treat the first few minutes like a warm-up. You’ll get a helmet and (in colder months) gloves, and the guide will manage pacing and safety. In groups, guides like Miki and Hiro are often praised for staying patient during early moments, especially when people want photos without slowing everyone down too much.
One important reality check: this is Tokyo. You’ll sometimes be near cars and you may ride on footpaths shared with pedestrians. Even if the roads feel manageable, the best mindset is defensive and focused. Glenn’s feedback nailed the theme: be ready to anticipate people stepping in your path and keep your balance while weaving carefully.
Tokyo City Route: Tokyo Station, Nihonbashi, a garden, and a shrine stop
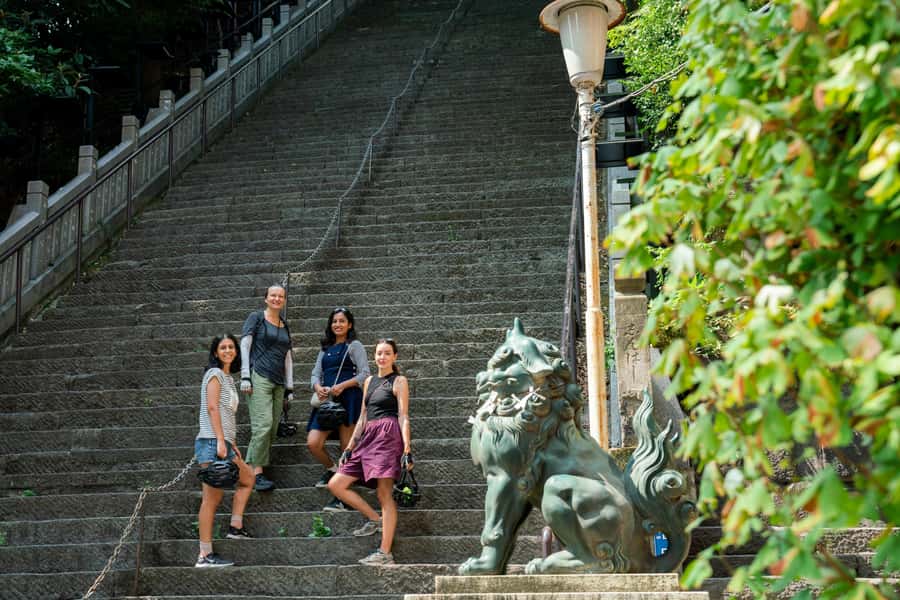
This route is for you if you want Tokyo’s recognizable centers plus a calmer side in the same morning or afternoon.
You’ll cruise through the Ginza area (as a pass-by), then continue by major landmarks like the Imperial Palace and Tokyo Station. Passing stops are still valuable because they help you build a mental map quickly. Instead of bouncing between separate neighborhoods, you get the geography in motion: where the stations sit relative to the palace area and how Nihonbashi fits into it all.
From there, the ride moves toward Nihonbashi (pass-by) and then you’ll get a snack moment. The tour includes a traditional Japanese snack, and it’s often a small highlight because it feels like you’re stopping the way locals do—quick, casual, and right where you are.
The standout pause on this route is the garden visit at Kiyosumi Japanese Garden. This is where a bike tour becomes more than sightseeing: you slow down on foot, take in the calmer pace, and get a reset from street noise.
The ride finishes with Tomioka Hachimangu Shrine. A shrine stop gives you something tactile and quiet to balance the big-city visuals you’ve just passed. You’ll leave with a different kind of Tokyo memory than a straight train-and-museum day.
Potential drawback on this route: if you’re chasing only the most famous icon photos, you might feel the central passes are just that—passes. One rider preference note you should consider: some people want more strongly scenic areas beyond the Tokyo Station corridor. If that sounds like you, pair your route choice with your expectations.
Tokyo Bay Route: Odaiba, bridges, Gundam, Statue of Liberty, and a sunset rhythm
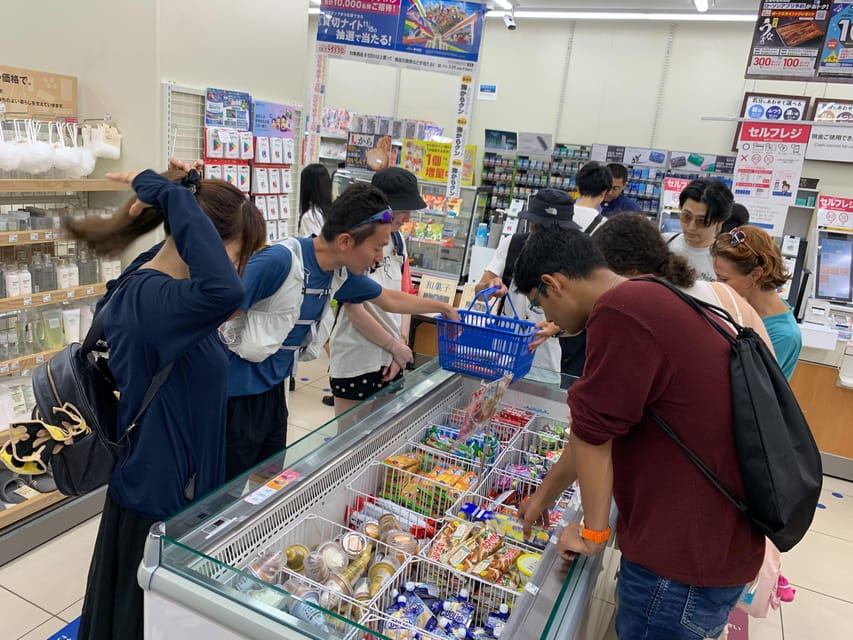
This is the route I’d pick for views and variety of architecture. Odaiba sits on reclaimed land, which means the roads can feel flatter and wider. That matters because it makes the ride smoother and easier to enjoy at speed.
You start near Sumiyoshi Shrine, then you’ll pass Tsukuda Tendai Temple, described as a hidden temple. It’s a good example of why this is a guided ride: you get access to places you might not spot on your own.
From there, you cruise by teamLab Tokyo and Tokyo Big Sight. Even if you don’t go inside either one, passing them by bike helps you understand how the bay area is laid out and how the venues connect.
The high-visual portion starts with stops and passes tied to pop-culture landmarks: the Gundam statue, then the Statue of Liberty in Odaiba. Expect photo opportunities here, and expect the ride to feel more open because you’re often viewing water, bridges, and skyline at the same time.
You’ll also have a snack stop at Odaiba Aqua City, included in the experience. This isn’t just food. It’s timed for the ride rhythm so you can recharge without breaking your momentum.
You finish with Rainbow Bridge (pass-by). Depending on the month, the Odaiba route start time changes, and the biggest payoff is catching the transition from daylight to night views. When the tour timing lines up, the bridges and skyline come alive in a way that buses and walking routes often can’t deliver as efficiently.
One practical caution: this route is visually expansive, but it can also mean long sightlines and crowds around certain bridge or landmark areas. Keep your focus on the guide plan and group spacing.
Tokyo Tower Route: Zojo-ji, Tokyo Tower photo moment, Atago Shrine, and Hibiya Park
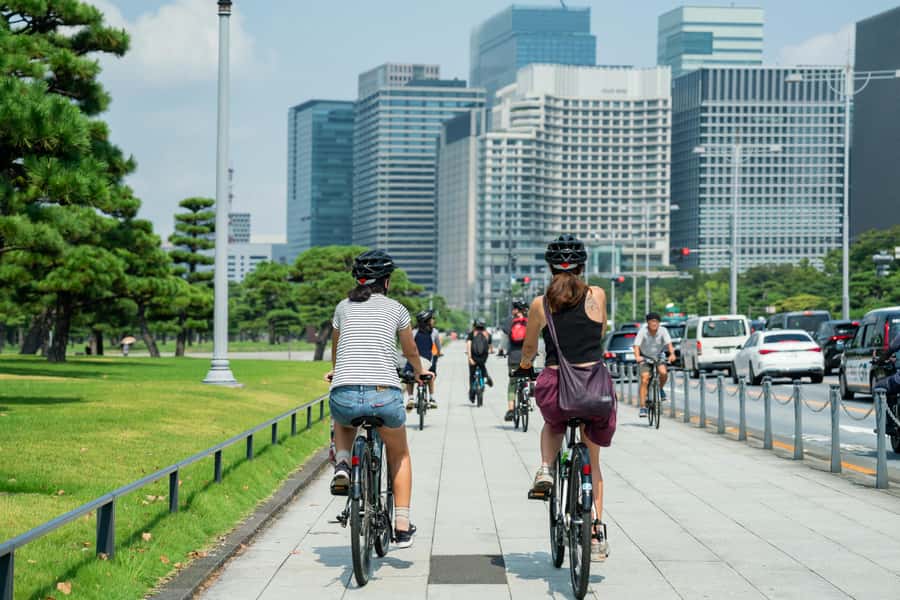
This route gives you the classic Tokyo contrast—old stone and shrine spaces beside a modern city spine.
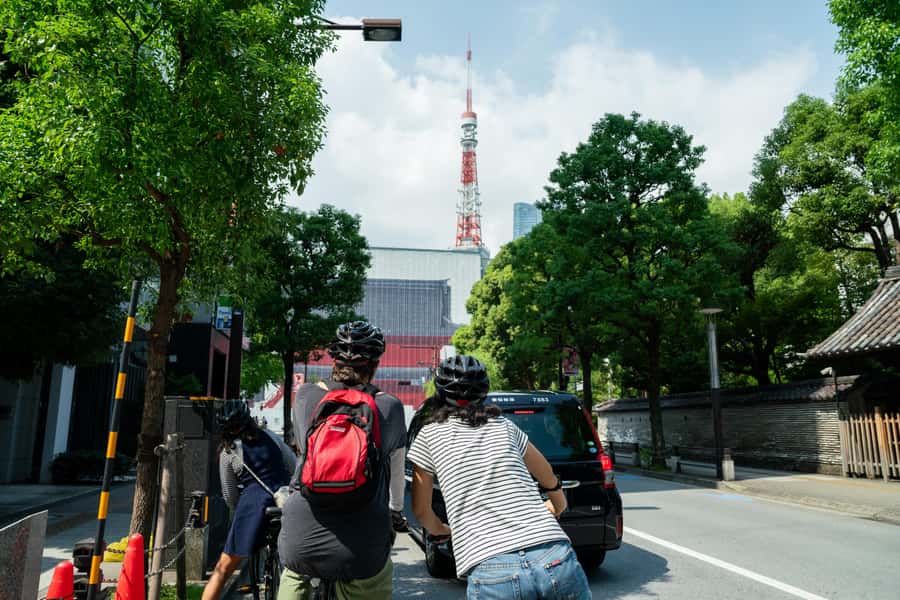
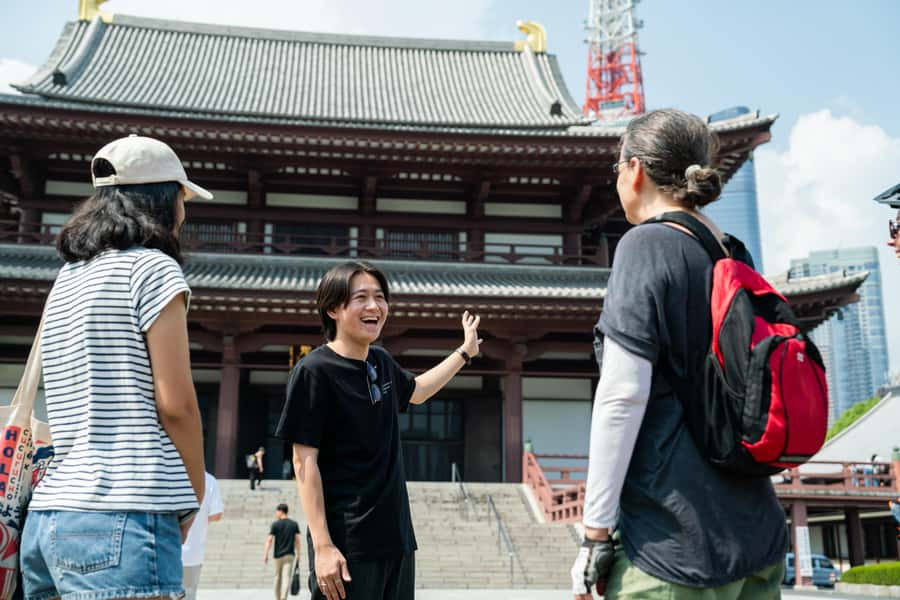
You start at Zojo-ji Temple, then ride into the area of Tokyo Tower, with a specific photo spot built into the stop. That’s smart planning: you don’t just ride past; you get a moment organized for pictures.
Next comes Atago Shrine, another shift in atmosphere from the tower visuals to a quieter spiritual site. Then there’s a snack break—again, the included traditional Japanese snack—so you don’t end up hungry while riding through more city segments.
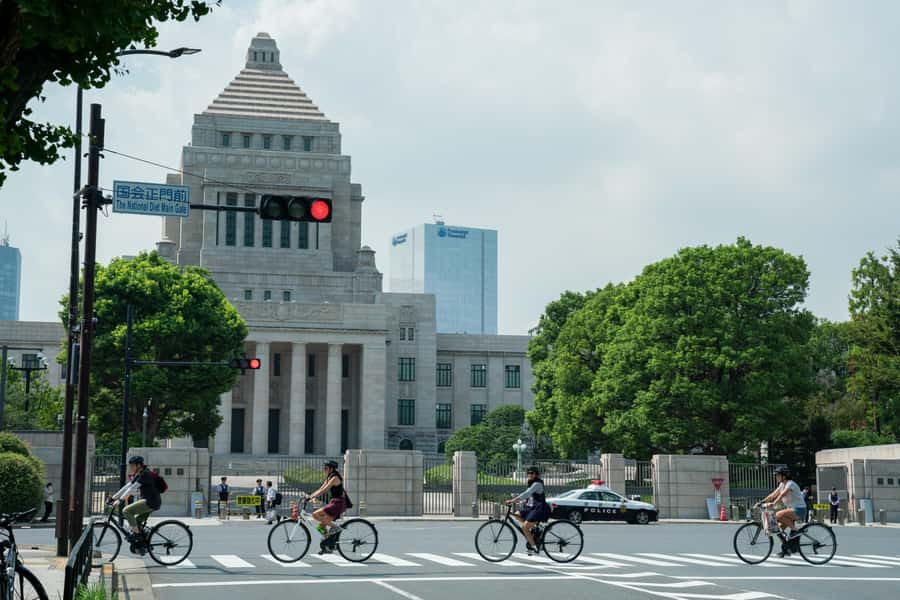
You’ll pass the National Diet Building, then head past the Imperial Palace area, and finally end at Hibiya Park. This ending matters. Hibiya Park gives you a green breather that helps the day feel like a loop of variety, not one long sightseeing sprint.
A drawback to consider on this route: it involves hilly areas, but because you’re on an e-bike, most riders report feeling little effort compared to a regular bike. Still, if you’re sensitive to slopes or you’re brand new to cycling, take the early minutes slowly and let the group pace settle.
Guide style: the difference between seeing Tokyo and understanding it
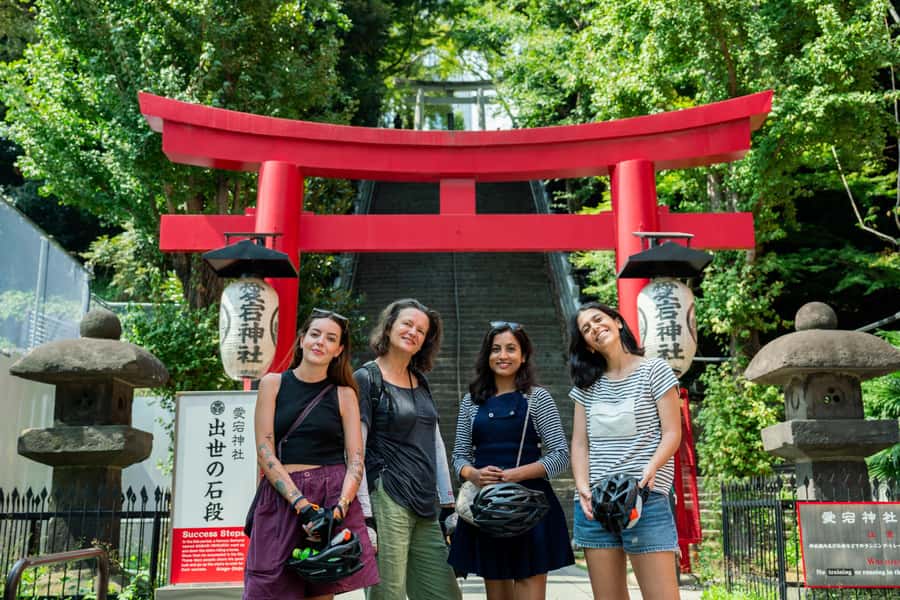
What makes this tour feel worth it is the guide voice in your ear while Tokyo slides by. English language support is part of the deal, and you can count on explanations tied to what you’re actually passing right then.
From the group experience, guides such as Shinobu, Hiro, Yugo, Miki, and Yota are consistently described as fun, patient, and safety-minded. Some guides also help with small logistics after the ride, like getting to a train station, which can save you time when your legs are tired.
The best guide moments often come when you ask questions. During snack stops, during the garden walk, and while you’re waiting for a safe gap in traffic, your guide can turn a landmark into a story: why it’s there, what the names mean, and what you should notice without getting lost.
What’s included: the small stuff that changes the day
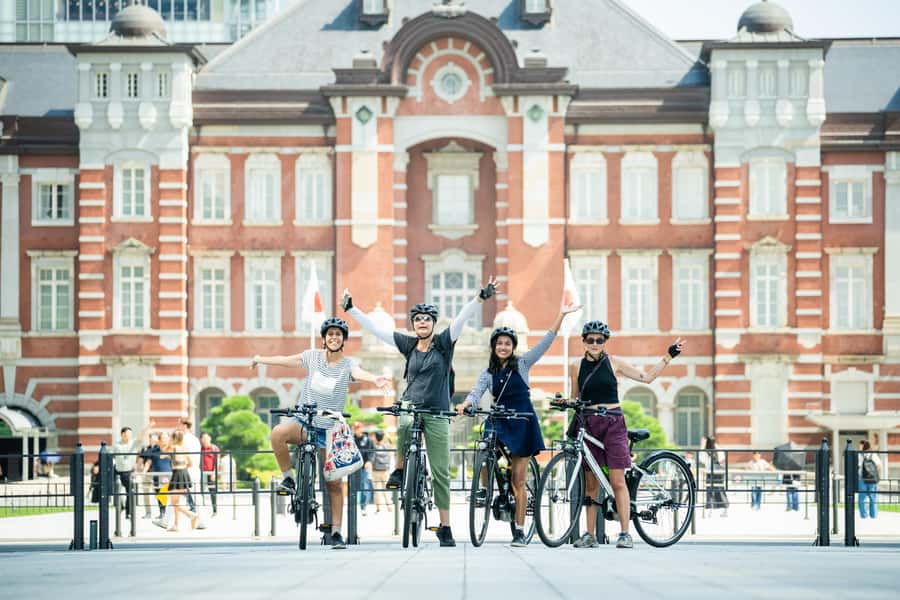
You get a package that removes friction:
- E-bike rental
- Helmet
- Gloves for winter season (so your hands don’t freeze into regret)
- Knapsack (if you need it)
- Luggage storage
- Traditional Japanese snack
- A real guide in English
Luggage storage is more important than it sounds. Tokyo transit can be awkward with bags, and you don’t want to bike one-handed while balancing a backpack. With storage handled, you can ride with both hands free and enjoy the route.
The included snack is also handy because it keeps the experience flowing. You’re already out there riding; you don’t need to hunt for food or figure out what’s open.
Safety and fitness limits you should not ignore
This tour is not for everyone, and the limits are there for a reason.
Children under 13 aren’t permitted. The bike fit is also limited: it’s not suitable for riders under 147 cm in height and not suitable for riders over 120 kg. It’s not recommended for wheelchair users, pregnant women, or anyone with heart problems.
Even if you meet the size and health criteria, be honest about comfort. You should feel okay riding close to pedestrians on shared paths and handling the basic tension of navigating through moving city traffic. The e-bike helps, but it doesn’t erase physics or road rules.
Price and value: is $65 worth 3 hours?
For $65 per person with a guide, e-bike, helmet, snack, and luggage storage, the value comes from what you buy that you can’t easily replicate on your own.
If you try to copy it DIY, you’d still need:
- a place to start and return,
- equipment rental,
- route planning that keeps you safe,
- and a way to understand what you’re seeing while riding.
Instead, you pay for the logistics plus the guided interpretation. In 3 hours, you’ll cover a lot more ground than walking, and you’ll see enough variety that it doesn’t feel like one neighborhood tour.
Is it cheap? No. But it’s not overpriced for what you get: you’re paying for time, access, and a guided ride that removes stress.
Should you book this Tokyo e-bike tour?
Book it if you want an efficient way to see multiple Tokyo areas in one session, and if you like the idea of a guide helping you connect landmarks with context. It’s a strong match for first-timers who want the big sights plus quieter stops, and it’s great for repeat visitors who want a new angle on familiar neighborhoods.
Skip it if you hate the idea of sharing paths with pedestrians, if you’re not comfortable riding near traffic, or if you fall into any of the stated limits (age, height, weight, health, or pregnancy). Also skip it if you want a purely low-contact walking style day.
If you’re flexible on timing, route choice is your biggest lever. Want bridges and skyline? Pick Bay. Want temples and parks with a central Tokyo spine? Pick City. Want classic old-meets-new contrast and a Tokyo Tower photo moment? Pick Tower.
FAQ
How long is the Tokyo e-bike tour?
It’s about 3 hours, though the end time may be delayed by around 30 minutes due to traffic conditions or other courses.
Where does the tour start and end?
The tour starts at a designated meeting point and ends back at the same meeting point.
What’s included in the price?
Included items are the e-bike rental, an English-speaking guide, helmet, luggage storage, and a traditional Japanese snack. Winter gloves are also provided for colder season tours.
Is this tour available in English?
Yes. The guide speaks English.
Which routes are offered?
There are three route options: Tokyo City Route, Tokyo Bay Route (Odaiba), and Tokyo Tower Route.
Are children allowed?
No. Children under 13 are not permitted.
What height and weight limits apply?
The tour is not suitable for participants under 147 cm in height, and it is not suitable for participants over 120 kg.
Do I need to be an experienced cyclist?
The e-bike is designed to be easy for anyone to ride, but you should still be comfortable riding through Tokyo streets and shared paths.
What happens if it rains?
If the tour cannot be held due to rain or other reasons, you’ll be notified by email the day before. If weather changes on the tour day, the tour may be canceled for safety.
Can I store my luggage during the tour?
Yes. Luggage storage is included, and you carry essentials while the rest is handled for you.
Tokyo, compared.
 ★ 5.0Mt Fuji and Hakone 1-Day Bus Tour Return by Bullet TrainFrom $16326,383 reviews
 ★ 5.01-Day Tokyo Bus TourFrom $12914,250 reviews
 ★ 4.6teamLab Planets TOKYO Digital Art Museum Entry TicketFrom $259,779 reviews
 ★ 4.0Mt Fuji & Hakone Cruise, Drum Show Bullet Train 1 Day from TokyoFrom $1497,413 reviews
 ★ 5.0Shinjuku Food Tour (13 Dishes at 4 Local Eateries)From $866,603 reviews
 ★ 4.4Tokyo Mt Fuji 5th St & Hakone Cruise Bus Tour w/Bullet TrainFrom $1545,024 reviews
 ★ 5.0Flagship 2-Hours Official Street Go-Kart Tour – Tokyo Bay ShopFrom $644,974 reviews
 ★ 4.5From Tokyo: Mount Fuji Full-Day Sightseeing TripFrom $684,970 reviews